
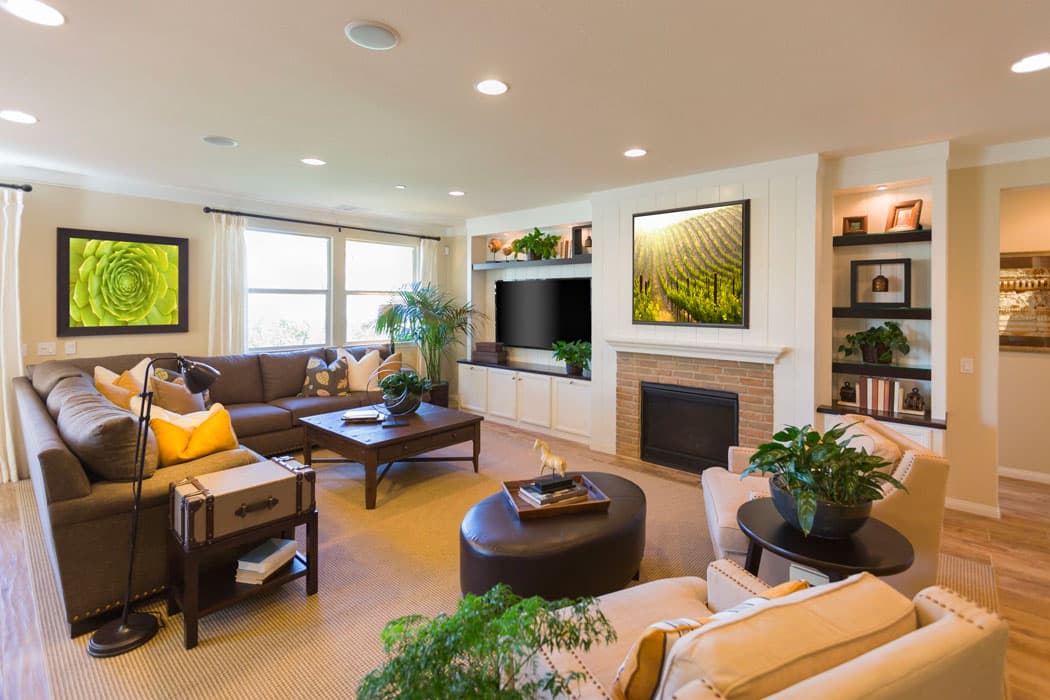
A room flooded with light and the same room plunged into darkness: sometimes, that's the only difference between a listing that prompts a visit and one that remains ignored. Yet, lighting is often the least controlled aspect of amateur real estate photography — way before framing or staging.
Lighting in real estate photography is not just about "opening the curtains." It combines a natural light source that changes hour by hour, artificial lighting that can work against you if poorly balanced, and tricky situations (backlighting, burnt-out windows, rooms without favorable exposure) that recur on nearly every listing. This guide details how to exploit each of these sources, avoid their neutralization, and how AI can help compensate for light variances that no manual setting can perfectly correct.
What you'll learn in this guide:
- Why natural light should remain the primary source, and the best times to capture it
- The pitfalls of backlighting and burnt-out windows, room by room
- When and how to use supplemental lighting without altering the scene
- Color temperature errors that betray poorly lit photos
- How automatic HDR corrects light discrepancies invisible to the naked eye at the moment of shooting
Why lighting is the top criterion for a selling real estate photo
Before wide-angle lenses, before staging, it's the first thing the eye perceives on a listing thumbnail. A study reported by Journal de l'Agence, conducted by CNRS researcher Fabrice Larceneux on MeilleursAgents listings, shows that just three truly appealing photos are enough to trigger a click — far more effective than a series of ten shots, half of which are poorly exposed. The quality of the light, not the quantity of photos, makes the difference.
A dark image or one with false colors caused by poor lighting gives the impression of poor maintenance, even if the room itself is flawless. Conversely, well-controlled lighting reveals shapes, authentic material hues, and provides an immediately understandable sense of space as viewers scroll. SeLoger has measured that listings with carefully curated photos generate up to 7 times more visits than those with neglected visuals — and lighting is the primary factor in this perception of quality.
Natural light: always the preferred source
Natural light accounts for the vast majority of usable lighting in real estate photography because it’s free, evenly distributed across the space, and doesn’t require correction for color cast.
The golden hour, and why it’s not always enough
The hours following sunrise and before sunset — the so-called “golden hour” — offer soft, warm, flattering light, especially for facades and exteriors. But for interiors, the low angle of the sun can cast long shadows and cause prominent backlighting depending on window orientation. The practical rule: aim for late morning or early afternoon for south- or west-facing rooms, and reserve the actual golden hour for exterior shots (façades, gardens, terraces).
Orientation and exposure: plan before shooting
A room’s orientation determines when it will be best lit. A bedroom facing south is ideally photographed in the morning, a living room facing west in late afternoon. Planning your photo sessions around these time slots — instead of shooting everything at a fixed hour — dramatically improves the results, especially in less favorably oriented spaces.
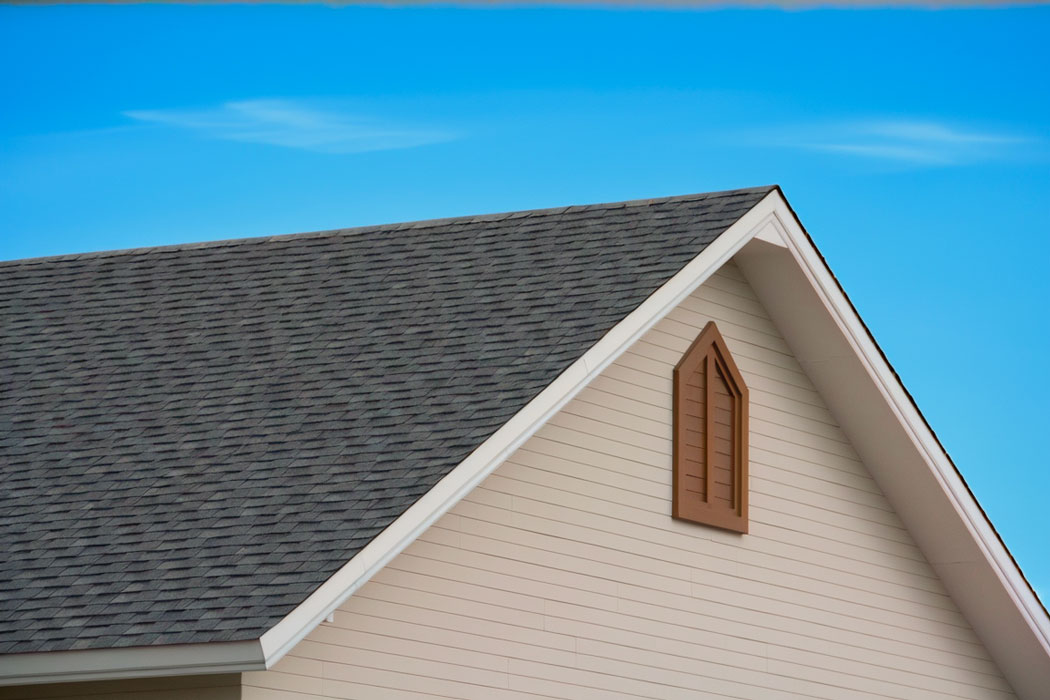 Diffuse natural light, without strong backlight, accurately renders true colors
Open wide, but not just curtains
Of course, opening curtains and shutters is obvious. Less obvious: partially closed Venetian blinds create shadow lines on the floor that distract the eye, while sheer curtains soften harsh sunlight without blocking it — useful on sunny, intense days with large windows.
The pitfalls of backlighting and burnt-out windows
The most common technical problem in real estate photos isn’t a lack of light but an extreme contrast between the room interior and the outside view through the window. Cameras cannot properly expose both zones in a single shot: either they expose for the interior, causing the window to become a uniformly white rectangle, or they expose for the outside, rendering the room too dark.
This flaw — called a “burned-out” window — is a hallmark sign of amateur photography. It deprives the buyer of a key selling point: the view, the actual brightness of the room, the environment. Our guide to HDR real estate photography explains the multi-exposure fusion technique that fundamentally solves this problem.
In practice, three situations to watch for before pressing the shutter:
- Direct backlight: the main light source is behind the subject (a room facing a bright bay window in full sun) — the subject appears dark and lacks detail.
- Extreme luminosity gap: a dark room with only a small, very bright window — the camera can’t choose an exposure that captures both properly.
- Reflections and glare: glass that reflects flash or artificial lighting, creating halo effects that obscure the outside view.
Artificial light: an aid, never the main source
Contrary to common belief, artificial lighting should not replace natural light in real estate photography — it should supplement it, selectively, in areas where natural light cannot reach.
Why turning on all the ceiling lights is a mistake
The reflex to turn on all the lights in a room before shooting almost always backfires. Standard household bulbs emit warm light (~2700-3000K), while daylight is cool (~5500K). Mixing these in a single image causes orange and blue color casts — especially on white walls meant to stay neutral. The result: inaccurately colored photos that even post-processing can’t fully fix.
The best practice is the opposite: turn off all artificial lighting and let natural light do most of the work. Supplemental lighting should be added only as a last resort, in specific shadowed areas that natural light doesn’t reach — never across the entire room.
When is supplemental lighting justified?
Certain situations genuinely require artificial aid: a basement or laundry room without windows, an interior bathroom, or winter evenings with very limited natural daylight. In these cases, prefer adjustable color temperature sources (~5000K), directed indirectly (bounced on a wall or ceiling), to avoid harsh shadows.
Mixed lighting: balancing without altering the scene
Between 100% natural and 100% artificial light, real-world conditions often call for a blend: dominant daylight supplemented subtly. The goal is to balance this mixture invisibly — a well-executed photo never shows its recipe.
| Situation | Recommended source | Pitfalls to avoid |
|---|---|---|
| Living room, kitchen with large windows | Natural only | Backlighting if shot facing the window |
| Standard bedroom, moderate exposure | Natural, golden hour or late morning | Shadows if golden hour is too late |
| Interior bathroom, basement, laundry | Artificial (around 5000K, indirect) | Mixing with remaining warm natural light |
| Facade, garden, exterior | Natural, during golden hour | Sunset backlighting based on orientation |
| Rooms with large interior/exterior contrast | Natural + HDR fusion | Burned-out window or dark room in single exposure |
Common lighting mistakes that harm listings
Repeating poorly executed habits across listings:
- Photographing facing a bright window without compensating for exposure, resulting in a dark interior.
- Mixing daylight and turned-on electrical lights, creating inconsistent color casts on walls and furniture.
- Ignoring the orientation of the property and shooting all rooms at the same hour, regardless of their exposure.
- Leaving windows burned out without HDR correction, depriving viewers of brightness and view details.
- Over-correcting in post-production: excessive editing creates gray halos and oversaturated colors — as noticeable as underexposed images.
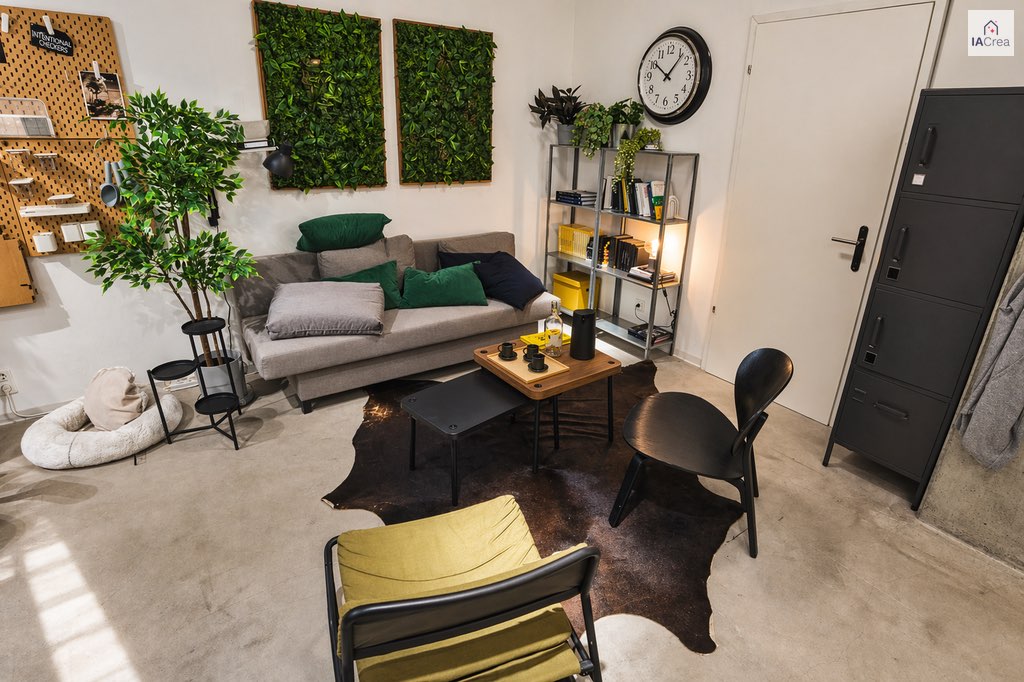 Proper HDR processing balances interior and exterior lighting naturally, without artificial look
How AI automatically corrects lighting discrepancies
Even with optimal timing and orientation, the contrast between interior and exterior light often exceeds what a single shot can capture. HDR (High Dynamic Range) merges multiple exposures, producing an image where every zone — walls, furniture, window, outside view — is correctly lit.
The IACrea real estate photo app automates this multi-exposure bracketing via smartphone: it captures several shots in a fraction of a second, merges them, and produces a natural-looking result without user technical adjustments. The final photo maintains natural lighting as the dominant source — the AI compensates for exposure gaps, not by adding artificial sources. After capturing well-exposed images, you can apply a virtual staging to further enhance the volumes revealed by good lighting — our full virtual staging guide explains the step-by-step process.
For agents torn between correcting light at capture or editing later, our comprehensive real estate photography guide covers everything from room setup to listing publication. And for properties where capturing volumes in a single shot is advantageous, our article on wide-angle shots in real estate photography completes this approach — good light enhances depth, and wide framing emphasizes space.
Mastering lighting also benefits video formats: a virtual tour video generated from well-exposed photos looks significantly more truthful than from images with color distortions caused by poor lighting.
FAQ
What’s the best time to photograph a property?
The hours following sunrise and before sunset — the “golden hour” — provide soft, warm, shadow-free light. Practically, early or late morning depending on orientation helps avoid backlighting and midday harsh shadows.
Should all artificial lights be turned on before taking pictures?
No. The best practice is the opposite: switch off ceiling and interior lamps, open curtains and shutters, and let natural light do most of the work. Mixing daylight (~5500K) with indoor bulbs (~2700-3000K) can produce undesirable color casts, especially on white walls.
How to avoid burnt-out windows in real estate photos?
A “burned-out” window (completely white, lacking detail) results from exposing the camera for the interior rather than the exterior light, which is much brighter. The solution is HDR: multiple exposures merged to preserve both interior and outside view. The IACrea app automates this process right from your smartphone.
What color temperature should I use in real estate photography?
Aim for a neutral white balance, around 5000–5500K, close to natural daylight. It renders material colors true-to-life (walls, floors, countertops) and is trusted by buyers to compare online photos with in-person visits.
Do smartphones handle backlighting well in real estate shots?
Recent models (2025–2026) benefit from computational HDR that automatically mitigates backlight issues. However, significant exposure contrast, like a south-facing bay window, still challenges even the latest phones. Dedicated apps like IACrea, which manage multi-exposure bracketing and merging, perform better than native HDR modes.
Conclusion
Lighting isn’t just a technical detail in real estate photography — it’s the first aspect perceived even before a buyer reads the listing. Prioritize natural light, understand each room’s orientation, reserve artificial lighting for specific needs, and use HDR to correct exposure gaps instead of lamenting them. These simple habits transform decent photos into compelling visuals that generate visits.
To automate this correction effortlessly, discover the IACrea photo app and see our plans for delivering perfectly balanced lighting in every listing you publish.
About the author

Co-founder & CEO of IACrea
Pauline Clavelloux is co-founder and CEO of IACrea. In daily contact with real estate agencies and agents, she understands their challenges around visibility, marketing and lead generation. On the blog, she shares actionable strategies on real estate marketing, social media and prospecting in the age of AI.
Related articles
Ready to turn your photos into content that sells?
Join thousands of real estate agents using IACrea to create professional content in seconds.
Try for free →