Real estate listings with professional photos receive 118% more views compared to listings with mediocre photos — and sell on average 32% faster (source: Redfin, 2025). Yet, the majority of agents in France still publish photos taken in a few minutes with a smartphone held at arm's length.
Professional real estate photography isn’t just for luxury properties. It’s an accessible commercial lever from the very first mandate, directly influencing the number of viewing requests — and thus the speed of the sale.
This comprehensive guide provides all the keys: equipment suited to your budget, shooting techniques, property preparation, post-production, and AI-powered optimization — so each of your listings is irresistible from the very first photo.
What you'll learn in this guide:
- Which equipment to choose based on your budget (dedicated camera vs smartphone)
- The real estate wide-angle rule and focal lengths to avoid at all costs
- How the IACrea app produces professional HDR photos in seconds
- How to prepare a property in 45 minutes for 10x better photos
- Shooting techniques room by room
- How virtual staging transforms decent photos into stunning images
Why Real Estate Photography Has Become a Non-Negotiable Standard
By 2026, over 92% of property searches begin online (FNAIM, 2025). Buyers browse dozens of listings per session. Their decision to click — or move on — is made in less than 3 seconds, solely based on visuals.
Real estate photos are therefore the first encounter between a buyer and a property. Before visits, descriptions, even before price — a photo either ignites or kills the desire to see the property in person.
Direct impact on commercial indicators
Aggregated data on the French market show significant differences between listings with professional photos and those with amateur shots:
| Indicator | Amateur Photos | Professional Photos |
|---|---|---|
| Number of views on portals | Reference | +118 % |
| Viewing requests | Reference | +61 % |
| Average time before first offer | 68 days | 42 days |
| Average offer price | Reference | +1.2% to +3.5% |
These figures aren’t just for €800,000 homes. A T2 apartment on the outskirts with good photos garners more requests than a poorly photographed T4 in the city center.
What buyers judge in 3 seconds
Eye-tracking studies on real estate ad navigation show that the eye evaluates in order: overall brightness, perception of space, then decor. It’s these three criteria — not the technical "photographic" quality — that trigger the click.
Equipment for Successful Real Estate Photos
Good news: you don’t need a €5,000 professional kit to get convincing results. You need equipment tailored to your volume of properties and time constraints.
Camera or smartphone: which to choose?
The debate is often poorly framed. It’s not "camera vs smartphone" — it’s "what’s my monthly volume of properties to photograph?"
Fewer than 5 properties per month: An iPhone 15 Pro or Samsung Galaxy S25 Ultra delivers very acceptable results, provided you master manual settings (exposure, white balance) and use a tripod.
5 to 20 properties per month: An entry-level mirrorless camera (Sony A6000 series, Fujifilm X-T30) with a dedicated wide-angle lens becomes cost-effective. File quality, low-light noise handling, and framing flexibility are significantly better.
More than 20 properties per month: A full-frame body (Sony A7 series, Canon EOS R6) with a bright wide-angle lens (16-35mm f/2.8 or 14mm f/2.8) is the most long-term cost-effective investment.
Real estate wide-angle lens: the focal length that makes all the difference
The wide-angle lens is the key that differentiates amateur from professional photos. In real estate photography, lenses are typically between 16 mm and 24 mm (full-frame equivalent).
Why? Because a wide-angle allows you to capture an entire room from an angle that conveys volume and space — the sensation every buyer seeks.
Focal length mistakes to avoid:
- Too short (< 14 mm): barrel distortion warps straight lines (walls, doors, windows) visibly and unflatteringly
- Too long (> 35 mm): compresses perspective, making rooms look smaller than they are
- Fisheye: absolutely avoid — distortions are unacceptable for professional listings
Ideal starter lens: a 16-35 mm f/4 (around €700–900), covering most interior situations with excellent value for money.
Smartphone real estate photos: is it truly enough?
Smartphone real estate photos have made enormous progress. 2024–2026 flagship models feature larger sensors, ultra-wide lenses covering between 13 mm and 17 mm angles, and advanced image processing algorithms.
In practice, a recent high-end smartphone produces acceptable results for standard properties if you:
- Use Pro mode (manual exposure and white balance controls)
- Use a tripod (essential for indoor long exposures)
- Enable the wide-angle lens (ultra-wide camera)
- Avoid digital zoom
The main limitation of smartphones remains contrast management between dark interiors and bright windows — a problem better addressed by dedicated cameras with manual HDR bracketing. That’s precisely what IACrea’s AI photo app automates by capturing HDR directly from your phone.
IACrea App: Professional HDR Photos Directly from Your Smartphone
Until recently, obtaining professional HDR photos from a smartphone required mastering manual bracketing, using fusion software, then retouching the result in Lightroom. A process reserved for experienced professionals.
The IACrea AI photo app radically simplifies this process: it automatically captures multiple exposures, fuses them with AI, and produces a balanced, luminous HDR photo in seconds — ready to publish directly from your iPhone.
How AI-powered auto HDR works
Smart multi-bracketing capture
With a single tap, the app automatically captures 3 to 5 different exposures of the same scene. The AI detects ambient brightness and dynamically adjusts exposure ranges — no manual settings needed.
AI fusion of HDR
The exposures are fused within seconds. The result preserves detail in shadows AND maintains natural brightness through windows — solving the classic interior/outdoor contrast issue smartphones alone struggle with.
Automatic sky enhancement
If the sky looks dull or overexposed, the app automatically replaces it with a bright, realistic sky — a game-changer for exterior photos.
Before / after IACrea HDR processing
Here’s what a typical interior photo looks like before and after HDR treatment with IA:
Without HDR: windows are blown out, interior remains shadowed — contrast destroys the quality of the listing photo
After HDR processing by IACrea app: balanced brightness, detailed everywhere, ready to publish in seconds
"Thank you IACrea for enabling us to create high-quality images quickly and effortlessly!"
— Florence Edouard, Efficity Real Estate Consultant ⭐⭐⭐⭐⭐
Interior before/after: the power of HDR on living spaces
Before: unprocessed interior — flat tones, unbalanced window contrast
After: same shot processed by IACrea — balanced lighting, restored depth, ready to publish
Beyond photos: the full IACrea ecosystem
The mobile app is just the entry point. Once your photos are captured and enhanced with HDR, the IACrea platform allows you to complete the workflow:
- Virtual staging: furnish and decorate empty rooms with virtual AI staging
- Virtual decluttering: digitally remove clutter with emptying tools
- Real estate videos: turn your best photos into animated videos with video creation for portals and social media
- Social media posting: schedule your posts directly through the platform
From smartphone to published listing across channels — in under 30 minutes.
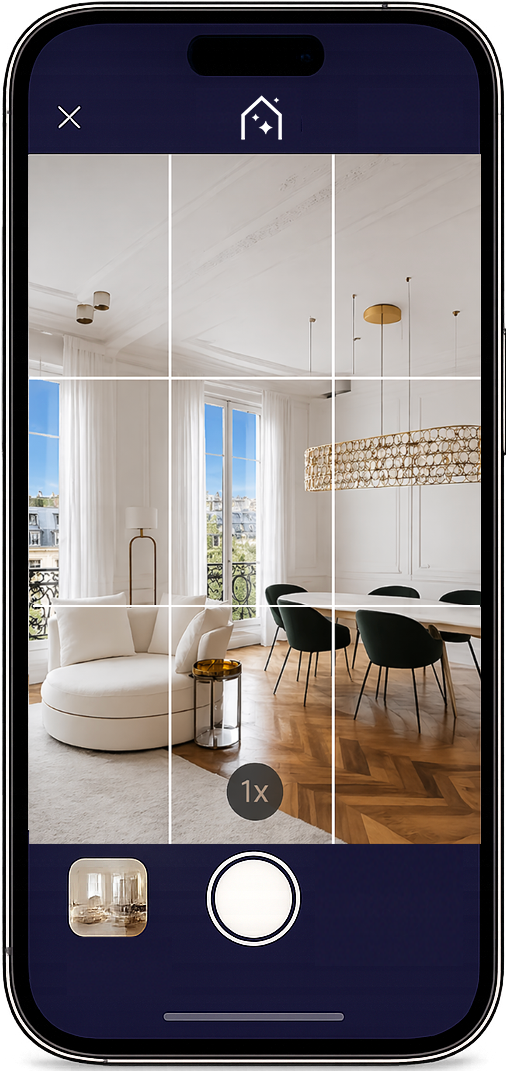
IACrea app interface: automatic HDR capture, instant before/after view, sync with web platform
Preparing a Property for Photography: The 45 Minutes That Make All the Difference
Even the world's best camera won’t work miracles if the property isn’t properly prepared. Preparation accounts for 60% of the final result — and it’s entirely free.
Well-prepared room: decluttered, lights on, curtains open — the basics of good real estate photos
Decluttering: first essential step
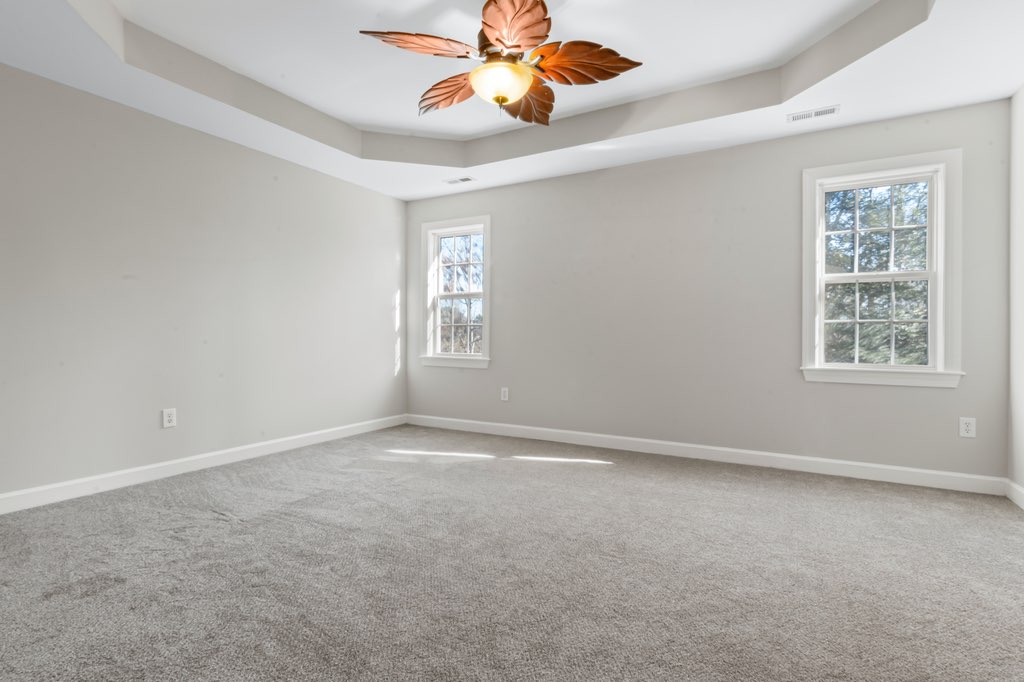
Cluttered spaces always appear smaller in photos than in reality. The goal is to remove everything that does not contribute positively to the perception of the room:
- Kitchen: Remove small appliances from countertops (coffee machine, toaster), visible dish towels, fridge magnets, trash cans
- Living room: Remove visible cables, remote controls, magazines, toys, excess cushions
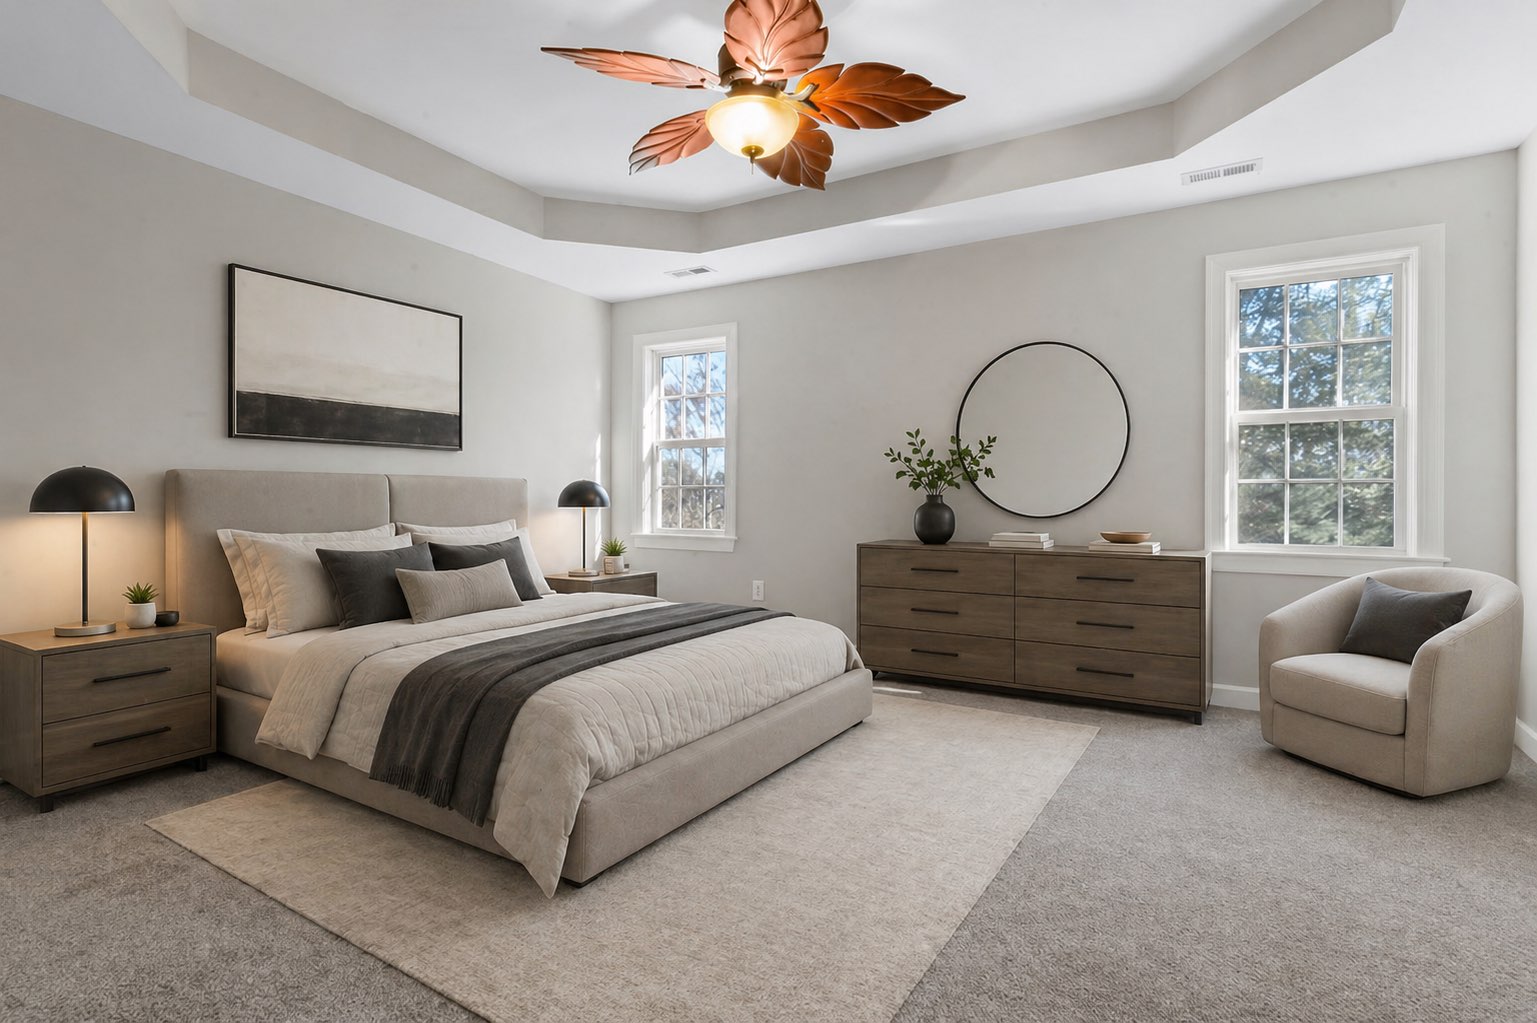
- Bedroom: Make the bed carefully (tightly tucked quilt), remove visible clothes, clean bedside tables
- Bathroom: Remove all toiletries, toothbrushes, used towels
If the property is occupied and physical decluttering isn’t possible, our virtual decluttering tool allows you to digitally remove unwanted objects after shooting.
Natural and artificial light: balancing act
Lighting is the raw material of photography. For interior real estate shots, managing the contrast between daylight through windows and the dimmer interior is challenging.
Practical tips:
- Pick the right time of day: morning for east-facing rooms, afternoon for west-facing; avoid midday sun creating harsh shadows
- Turn on all lights (ambient + spotlights) — even during the day, they balance interior/window contrast
- Fully open curtains and blinds
- Remove flickering or unusually colored bulbs
Common mistake: photographing a room against the light (window behind the subject), resulting in overexposed edges and underexposed center.
Professional Shooting Techniques
Height, angle, and composition
Shooting height is crucial — and often poorly set. The professional rule is simple: waist height, never knee, never shoulder.
- Recommended height: between 90 cm and 120 cm (kitchen worktop level). This ensures vertical lines are straight, and the room is shown as seen standing.
- Downward angle: 5° to 10° downward — shows the floor and avoids distorted ceilings
- Always use a tripod: eliminates motion blur, especially with indoor slow shutter speeds
Triangle composition rule: position the room’s corner slightly off-center (left or right). This natural asymmetry guides the eye and creates a greater sense of depth than a frontal shot.
How to photograph each room
Each space has its own constraints and strengths.
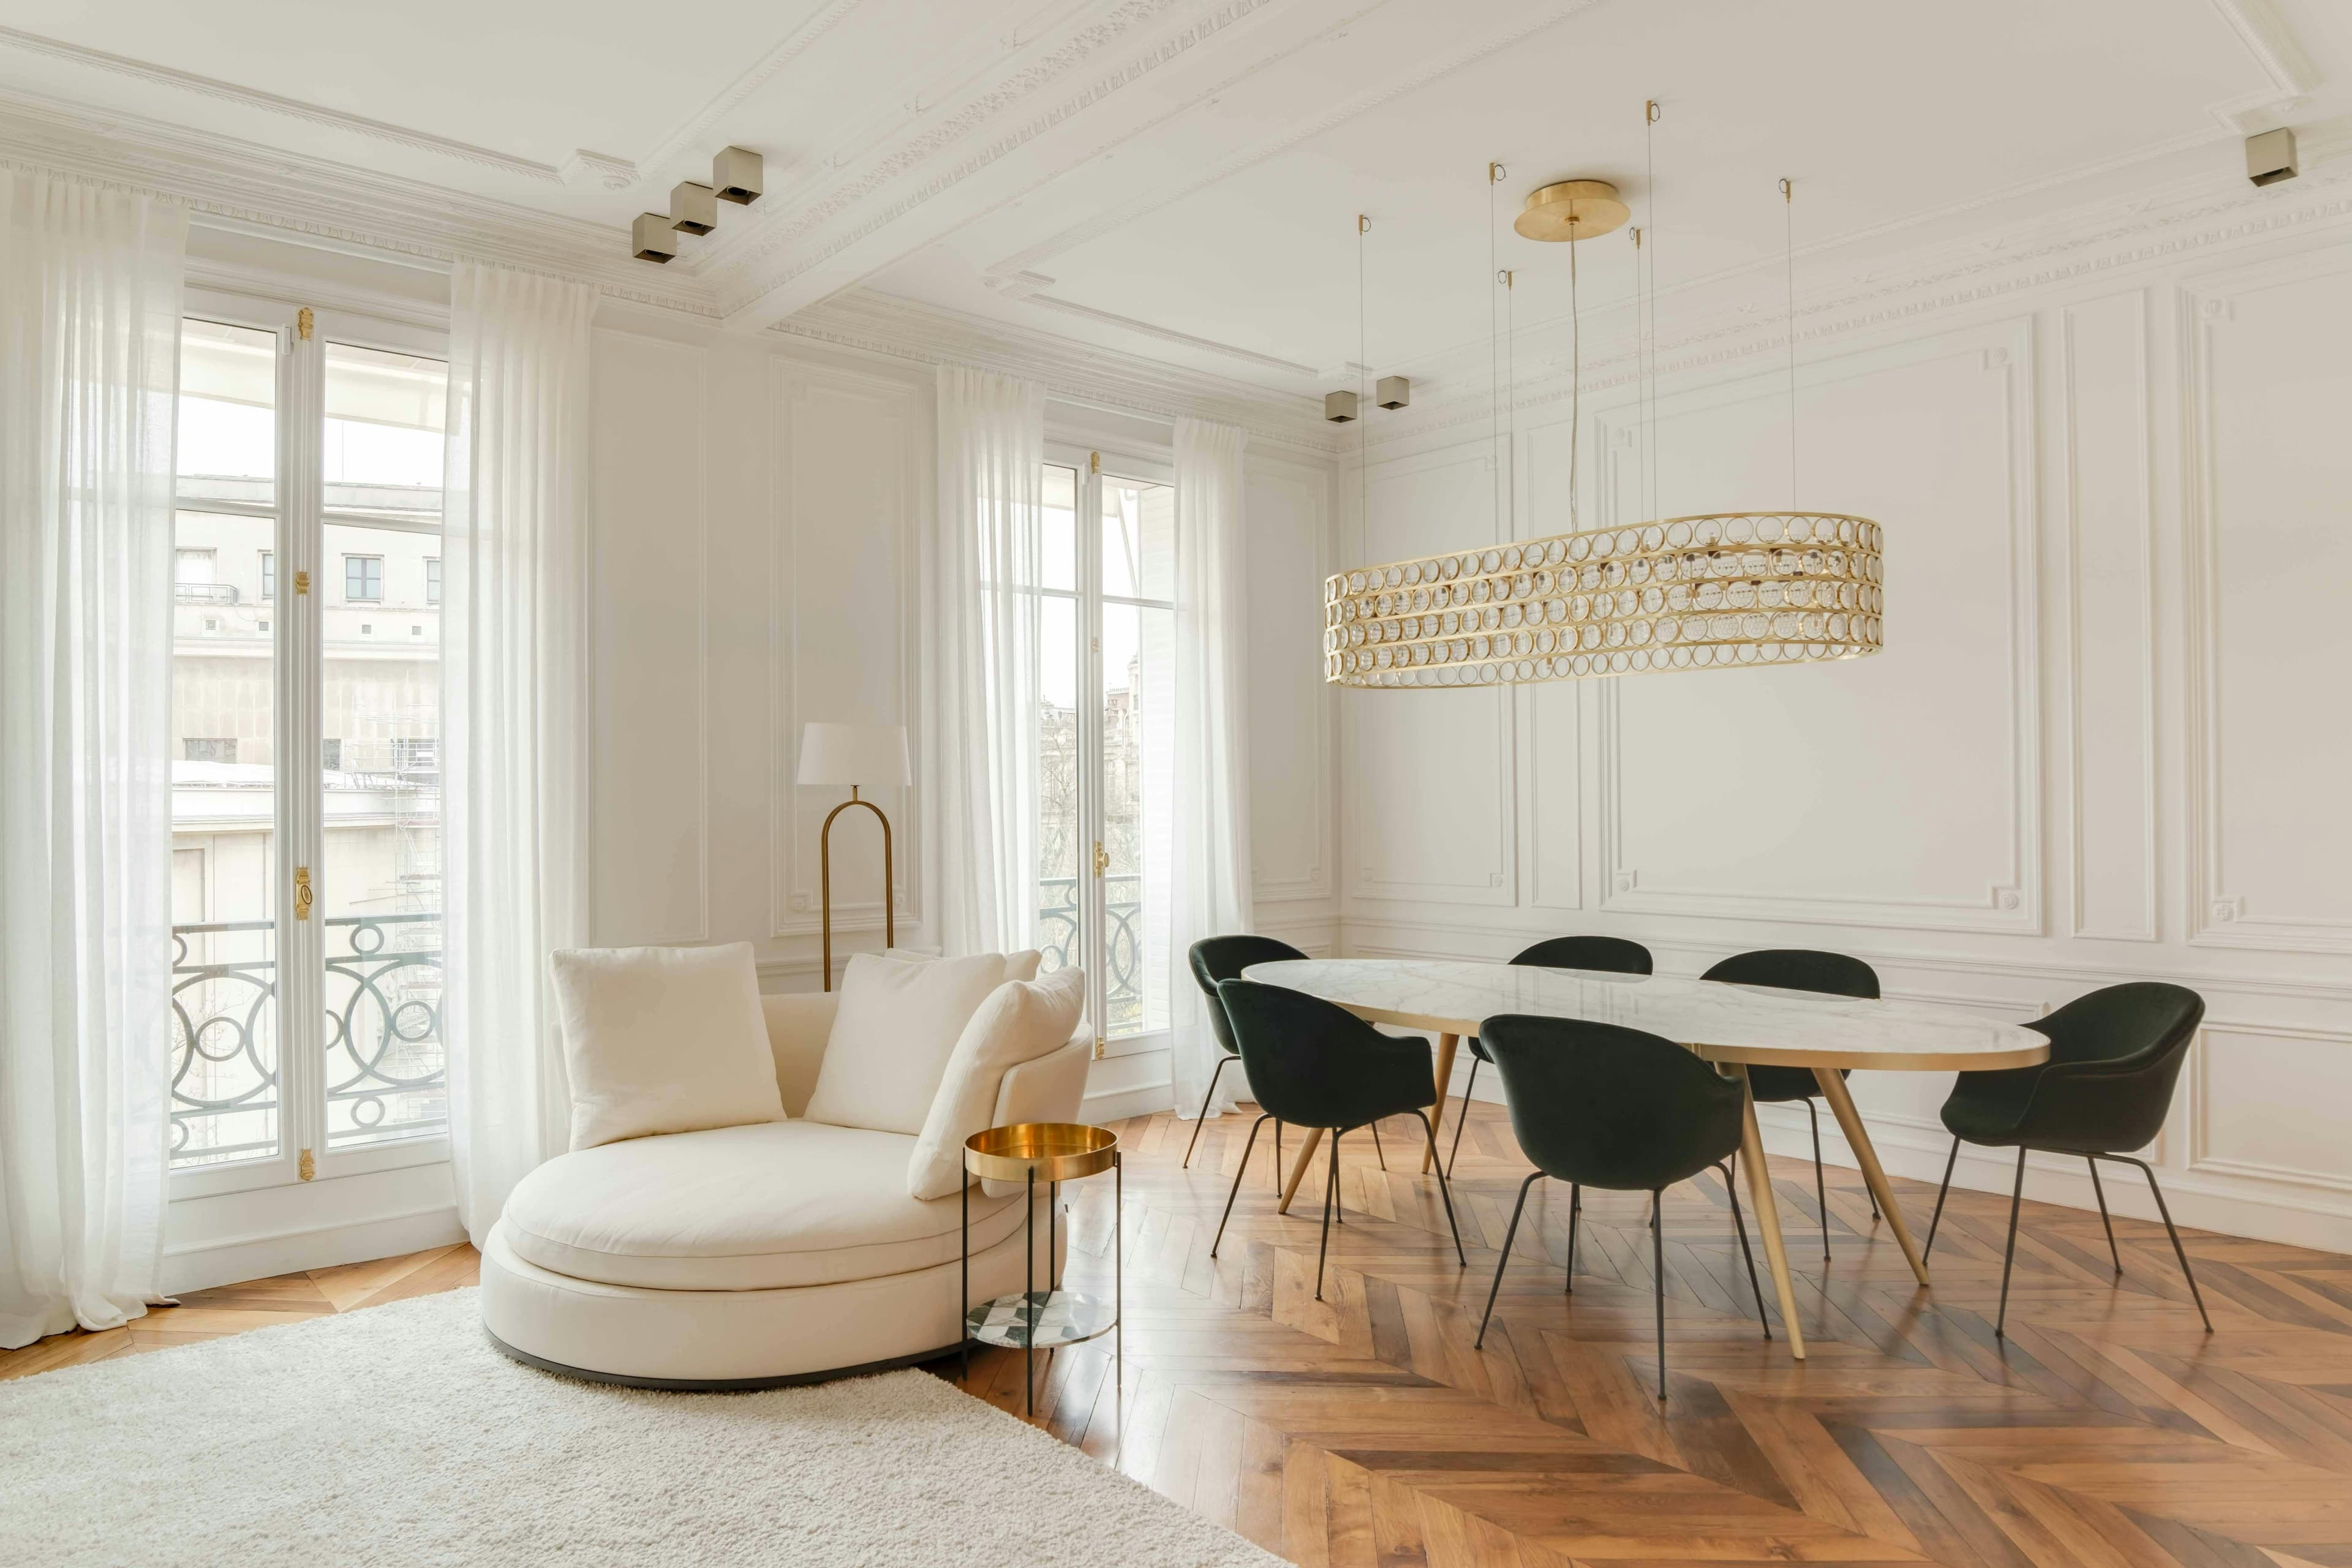
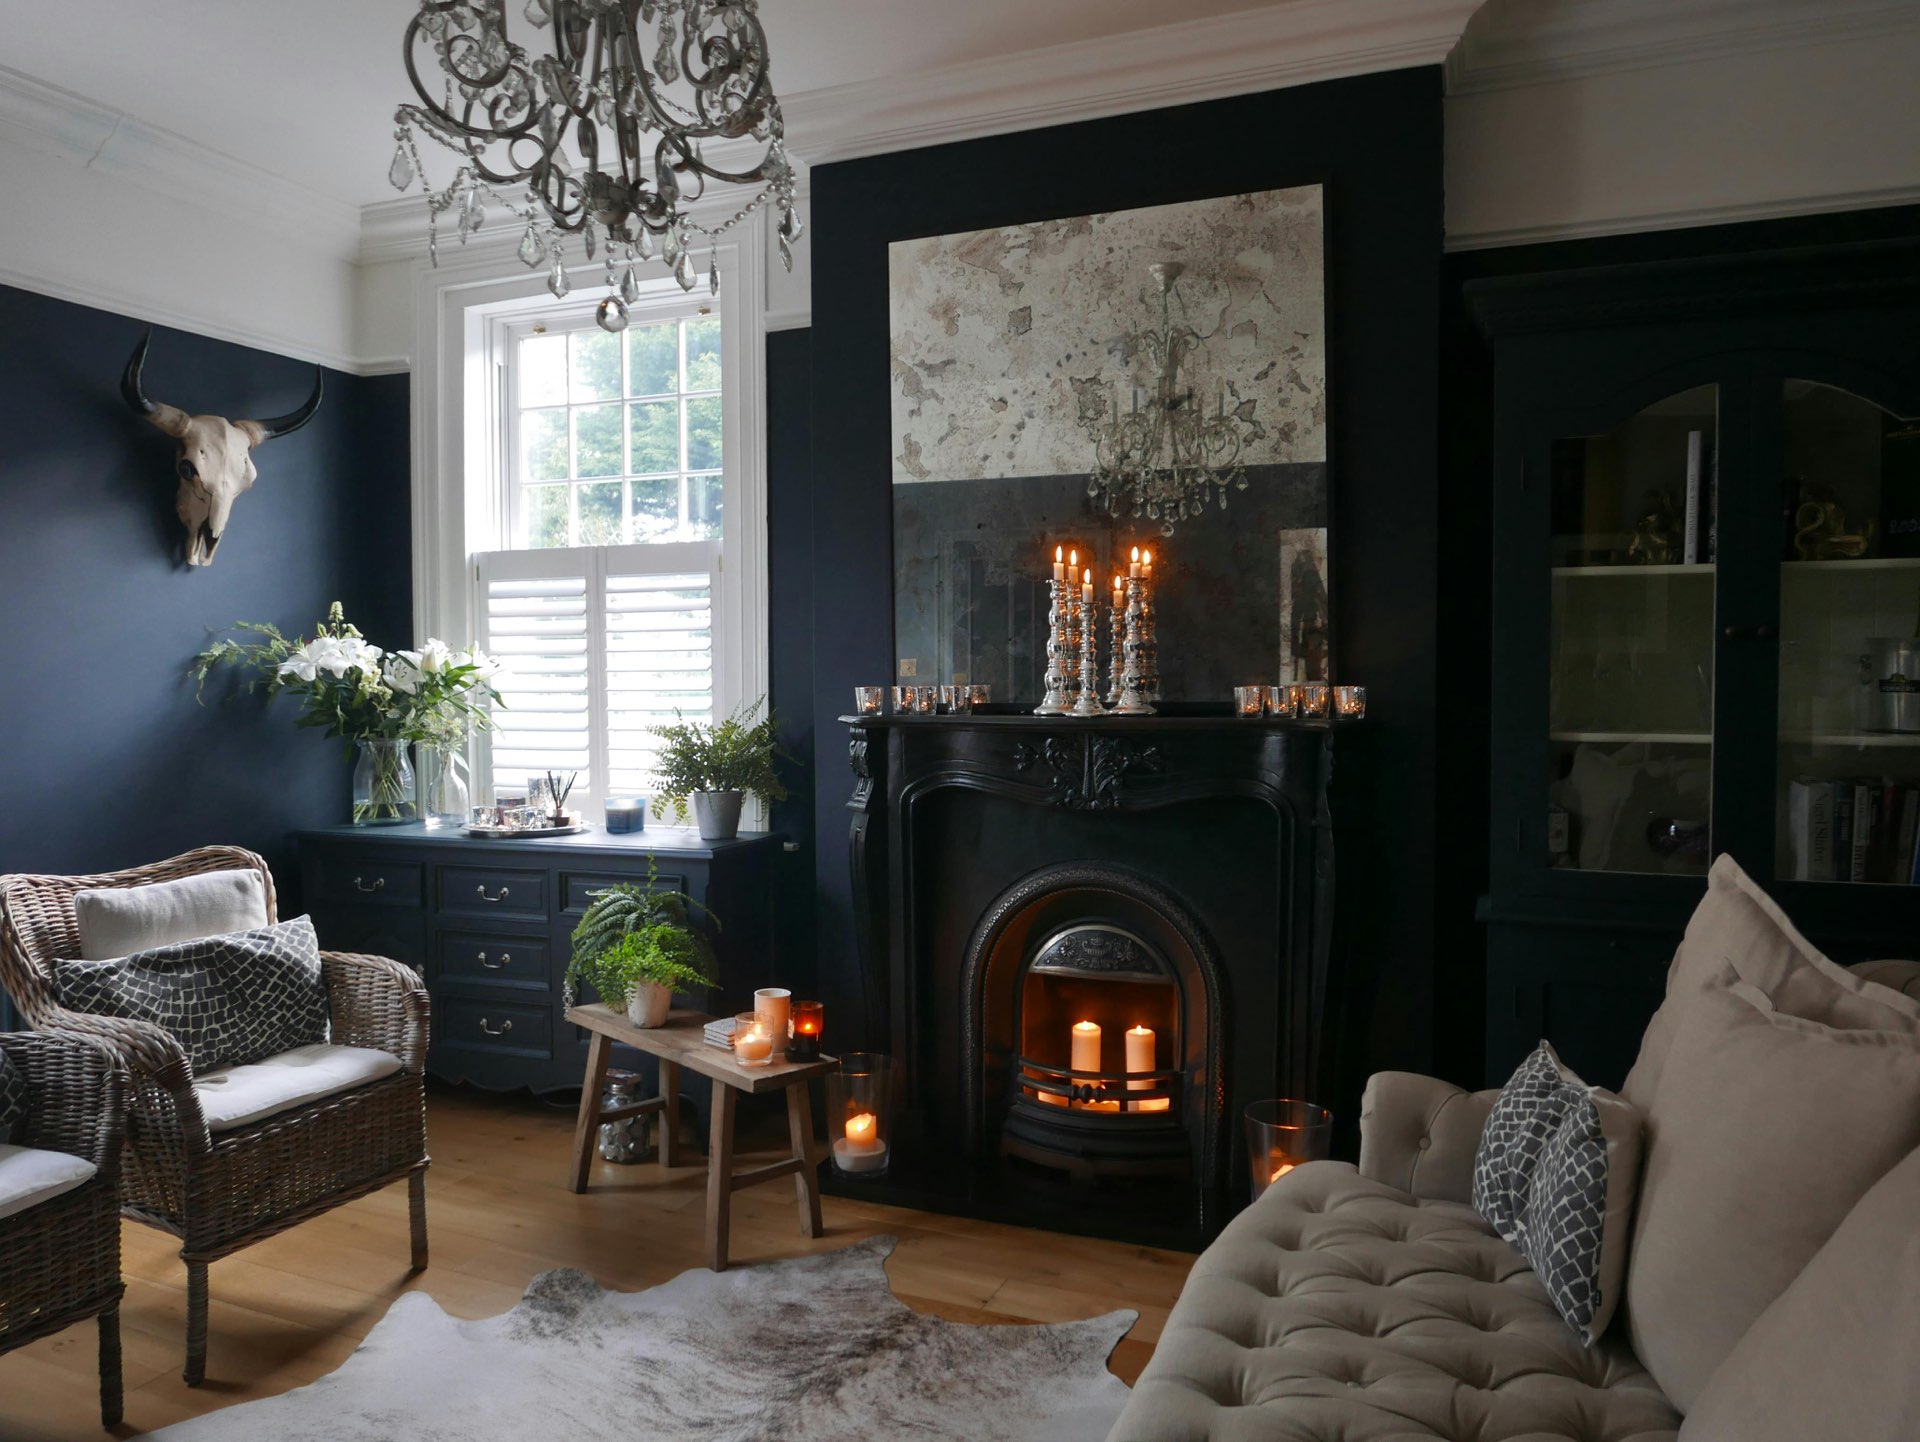
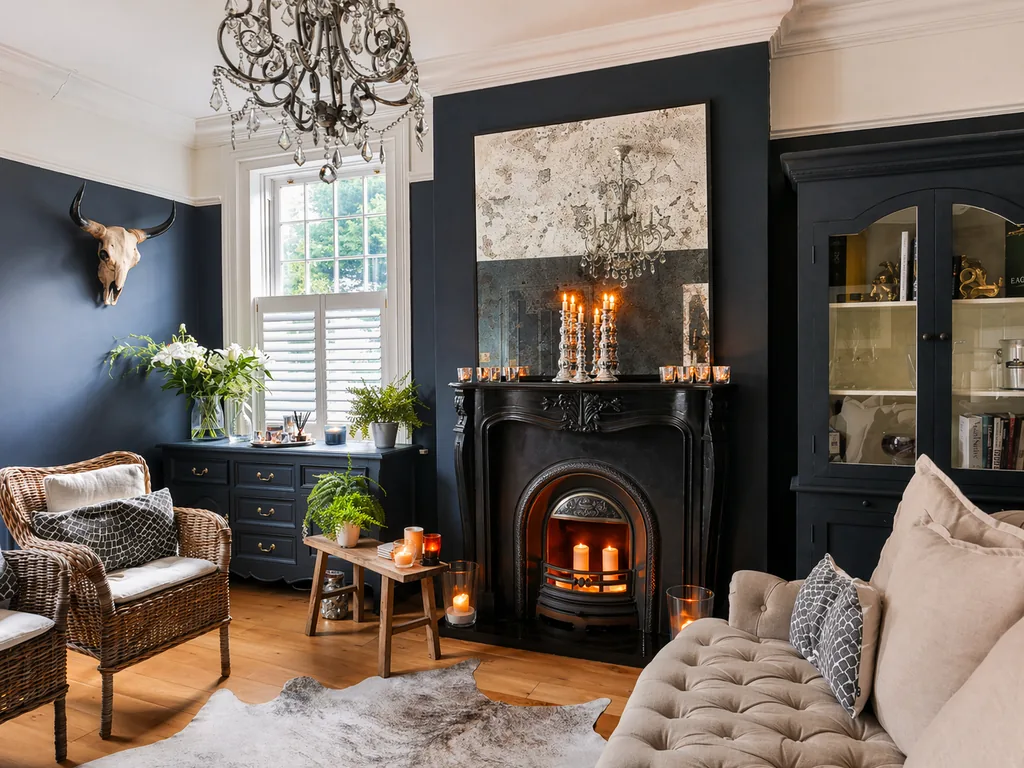
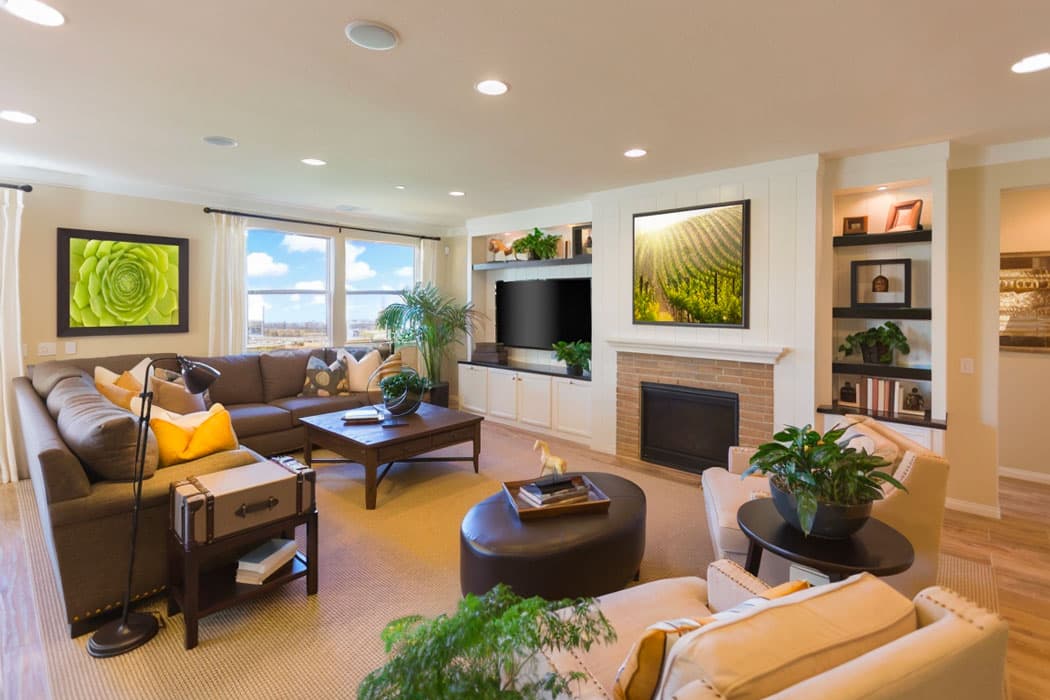
Living room / lounge: most important. Take photos from the corner opposite the TV or fireplace. Show the sofa at a slight diagonal. Aim for 2-3 shots: overall view, close-up of a seating corner, view towards windows.
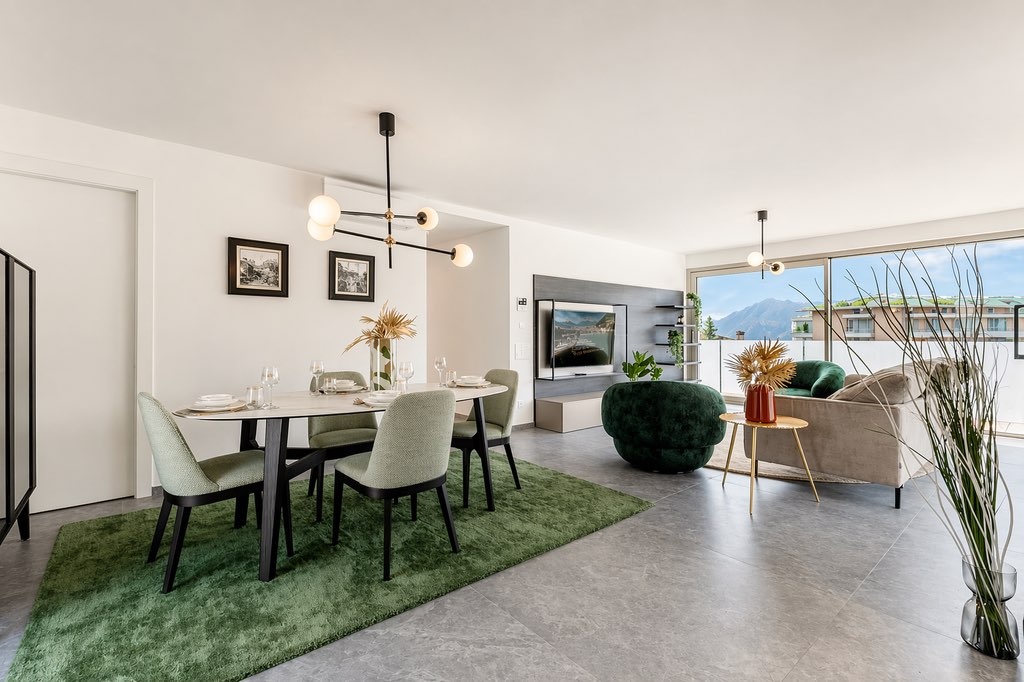
Kitchen: showcase the full L- or U-shaped countertop. If open to the living room, photograph from the living area capturing both spaces — highly appreciated by buyers.
Master bedroom: focus on the headboard. Show that two people would fit comfortably on each side — indicating spaciousness.
Bathroom: hardest to photograph (small space, mirror/light contrast). Position yourself in the far corner of the shower. Turn on all lights. If the mirror reflects the photographer, move slightly aside.
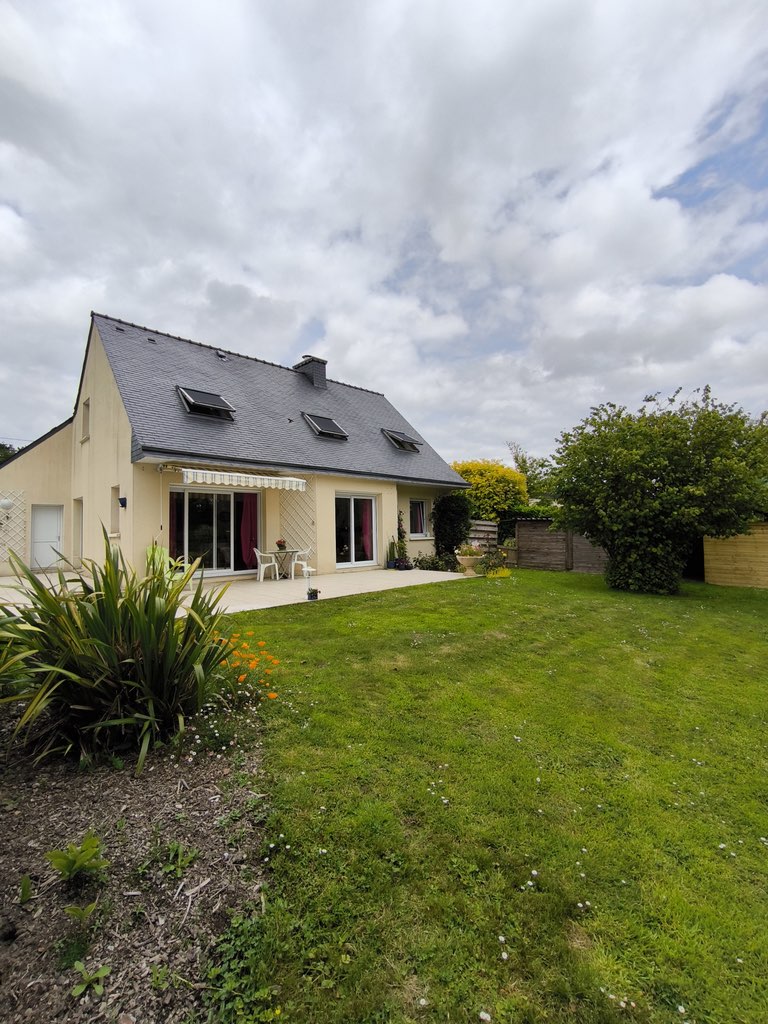
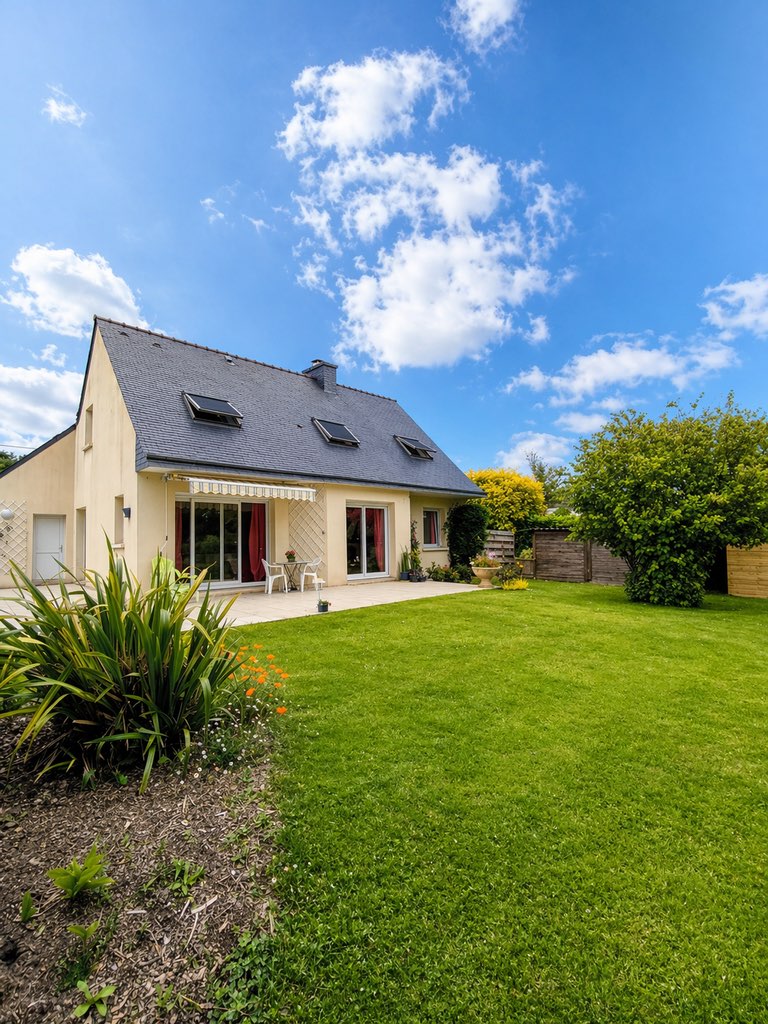
Exterior: shoot during the "golden hour" (1 hour after sunrise or before sunset). Raking light creates soft shadows and highlights facade volume.

Exterior shot in golden hour light: volume highlighted, attractive garden
HDR bracketing for challenging interiors
HDR bracketing involves taking 3 to 5 photos of the same scene at different exposures (under, correct, over), then merging into post-production.
This method enables capturing both interior details and outdoor/exterior brightness through windows — without blowing out highlights or losing shadow detail.
If you use the IACrea app, this step is fully automated: the app manages bracketing and fusion with a single tap, no extra software needed.

Post-production: Enhancing Photos after Shooting
Post-production transforms good photos into exceptional images. It’s accessible to everyone thanks to current software.
Essential edits
1. Adjust exposure and contrast
Aim for images where interior and exterior details are both visible. Lightroom (or alternatives like Luminar Neo, Darktable free) allow recovery of blown highlights and shadows with sliders.
2. Correct white balance
Artificial lighting often gives a yellow/orange cast. Setting a neutral white balance (around 4,500–5,500 K) imparts a clean, fresh look.
3. Correct lens distortion
Wide-angle lenses can cause slight barrel distortion (straight lines bowing). Lightroom automatically corrects this via lens profiles.
4. Straighten verticals
Vertical lines (walls, doors, windows) should be perfectly upright. Any tilt gives an unstable impression. Perspective correction in Lightroom or Photoshop makes this quick.
5. Minor imperfections retouching
Ceiling stains, stray cable, reflection of the photographer in a mirror — use clone stamp or Photoshop AI tools to fix discreet flaws non-destructively.
Virtual Staging: When Photos Alone Aren’t Enough
A perfectly shot empty room remains an empty room. Buyers struggle to project themselves, judge volumes, or imagine furniture.
This is where virtual staging (virtual IA staging) comes in — digitally furnishing and decorating a space from a photo in seconds, thanks to AI.
Before: technically good photo, but empty space makes it hard for buyers to visualise
After: same photo, same angle — virtual staging has furnished and decorated the room in under a minute
The combined process is today’s quality standard for empty or renovation-in-progress properties:
- Professional photo capture: records geometry, lighting, and volumes
- Basic post-production: exposure correction, white balance, verticals
- IACrea virtual staging: furniture and decor are AI-generated, tailored to the target style
- High-res export: images ready for portals in under 30 minutes total
The results are more impactful than either a single professional photo or a single virtual staging alone. See our before/after examples for the tangible difference.
Outsource or Shoot Yourself?
The common question: should you hire a professional real estate photographer, or develop your own skills?
Arguments for outsourcing
A professional brings:
- High-end equipment (full-frame camera + professional wide-angle + studio flash)
- Lighting expertise (indirect flash, mastered HDR techniques)
- Advanced post-production (Lightroom, Photoshop, specialized plugins)
- An eye for flattering angles
Average cost for a real estate photographer in France: €150–€350 per property (5-8 rooms, 15–25 retouched photos).
Arguments for self-shooting
With the right gear and practice, an agent can produce professional-grade photos. The advantages:
- Responsiveness: no dependency on scheduling with a photographer
- Cost-efficiency: after equipment amortization (1-2 years), marginal cost is minimal
- Control: can redo shots the next day if needed
Learning curve exists but is manageable. After shooting 20–30 properties, most agents attain very satisfactory quality.
Cost of Professional Real Estate Photography
Market rates in 2026
| Solution | Indicative Price | Delivery Time | Best suited for |
|---|---|---|---|
| Professional photographer | €150 – €350 per property | 24–48 hours | Premium properties, small volumes |
| Semi-professional freelancer | €80 – €150 per property | 1–3 days | Standard properties, good value |
| Self-learning / equipment amortization | €0 – €30 per property | Immediate | Large volume, invested agents |
| IACrea app (HDR + AI, smartphone) | Included in IACrea subscription | Immediate | All volumes, all-in-one solution |
| Premium smartphone only | ~€0 per property | Immediate | Simple properties, time constraints |
Calculating ROI effectively
For an agent handling 30 mandates a year, the investment in professional photography can be estimated as:
- Outsourcing photo costs: 30 × €150 = €4,500/year
- Estimated sales delay reduction (e.g., -15 days × average commission): varies
- Improved conversion rate: significant but hard to quantify precisely
In practice, agents adopting professional photos often recover costs within the first few mandates via faster sales and higher offers.
Check our pricing plans to optimise your investment in photography and virtual staging.
Incorporating Photography into a Complete Real Estate Workflow
Photography shouldn’t be a standalone task — it fits into a comprehensive visual presentation workflow starting before the shoot and extending after publication.
Before the shoot:
- Visit with owner to prepare (declutter, tidy)
- Choose optimal time of day based on property orientation
- Check equipment (battery, SD card, tripod)
During the shoot:
- 2–3 photos per room from different angles
- Include exterior shots and key common areas (terrace, view, parking)
- Use HDR bracketing for high contrast areas — fully automated if you use the IACrea app
After the shoot:
- Select 10–15 best raw images
- Post-process (30–60 min)
- Apply virtual staging) for empty rooms
- Create real estate videos from images for portals and social media
Applying this workflow systematically transforms your listing quality and quickly becomes a strong differentiator when presenting mandates to sellers.
FAQ: Real Estate Photography
How many photos per listing?
Between 10 and 20, depending on property size. Less than 10 seems incomplete; more than 25 feels excessive. Quality over quantity — 12 polished photos are better than 25 mediocre ones.
Photograph an empty or furnished property?
Furnished, ideally — easier for buyers to project themselves. If empty (owner gone, new build), virtual staging compensates cost-effectively.
Best time of day for photos?
Outside peak sunlight hours: morning (8–11 am) for east-facing rooms, afternoon (post-3 pm) for west-facing. For exteriors, the "golden hour" (about 30–60 min after sunrise or before sunset) produces the best results.
Is a drone useful?
Yes, for homes with land, properties with views, or in subdivisions to showcase surroundings. Less useful for city apartments. Note: French regulations require certification and flight restrictions in urban zones.
Photos need retouching before posting?
Basic editing (exposure, white balance, verticals) is recommended. Heavy alterations (size changes, fixing structural flaws) should be avoided for ethical reasons.
Can AI improve real estate photos?
Yes — two levels. At shooting: IACrea app manages automatic HDR bracketing and sky replacement without post-editing. Afterward: virtual staging and AI retouching finish the images before publication.
What is HDR in real estate photography?
High Dynamic Range merges multiple exposures to balance shadows and highlights (windows, sky). It prevents blown windows and dark interiors. The IACrea app automates this in seconds directly from a smartphone.
Conclusion
Professional real estate photography today delivers the highest ROI for agents — ahead of advertising budget, premium portals, or physical signage.
Mastering wide-angle lenses, property prep, and basic post-production takes only weeks of practice. And with IACrea’s AI photo app, even a smartphone is enough to produce professional HDR photos in seconds — without extra editing software.
For empty or poorly staged properties, IACrea’s virtual staging completes the visual work, achieving results even top professional photographers couldn’t reach alone with an empty listing.
Download IACrea and test professional HDR photography on your next mandate — or explore our full plans to integrate AI into your entire real estate workflow.
Related articles


Ready to turn your photos into content that sells?
Join thousands of real estate agents using IACrea to create professional content in seconds.
Try for free →