
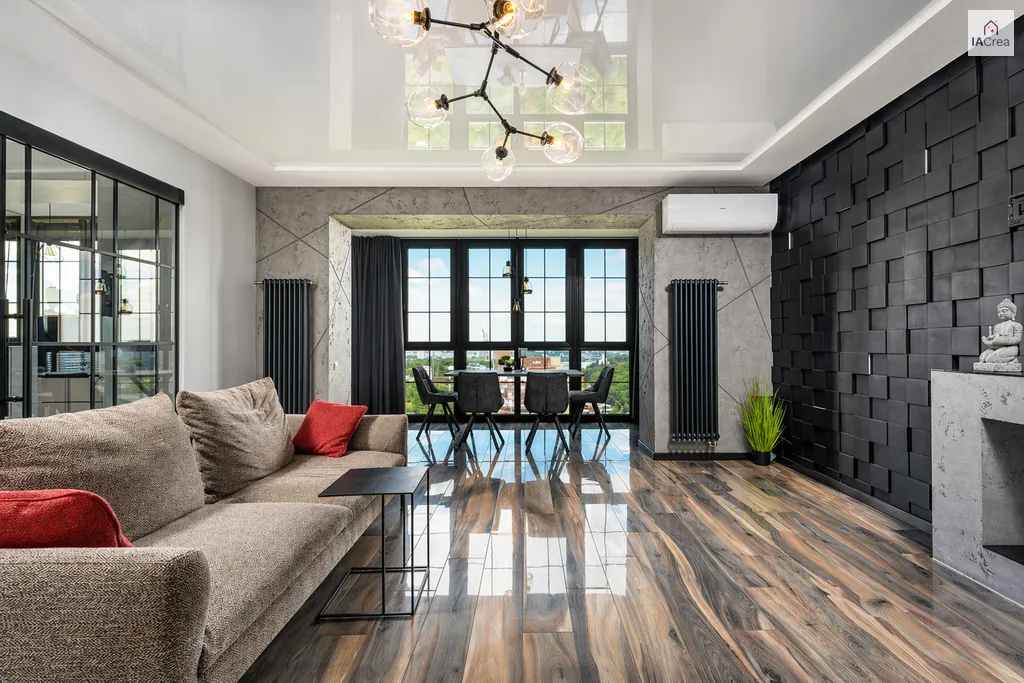
A completely white window, or a room bathed in darkness: this is the #1 flaw of amateur real estate photos. The solution comes in three letters — HDR.
The real estate HDR photograph involves merging multiple exposures of the same scene to simultaneously render dark areas and very bright zones. The result: a well-lit interior with a clear view through the window, exactly as the human eye perceives it. This guide explains what HDR is, why it’s essential in real estate, and how to ensure success every time.
What you will learn in this guide:
- What exactly HDR photography is and the problem it solves
- Settings to succeed in your shots (tripod, bracketing, exposure)
- The difference between manual HDR and automatic HDR
- Common mistakes that reveal a failed HDR
What is HDR photography in real estate?
HDR stands for High Dynamic Range. The dynamic range is the gap between the darkest and lightest areas a sensor can record in a single shot. A home’s interior presents this very challenge: the room is dark, but the window admits light ten times more intense.
A device cannot capture everything in one go: it either exposes for the interior (making the window a white rectangle), or for the window (making the room black). HDR bypasses this limit by combining several photos taken at different exposures — dark, medium, bright — to create an image where every zone is properly exposed. It’s the same principle as described in the general definition of High Dynamic Range imaging.
Why is HDR indispensable for real estate photos?
Beyond the technical aspects, HDR has a direct commercial impact.
- Windows no longer burn out: buyers see the view, the true brightness, and the environment — selling points that amateur photos often hide.
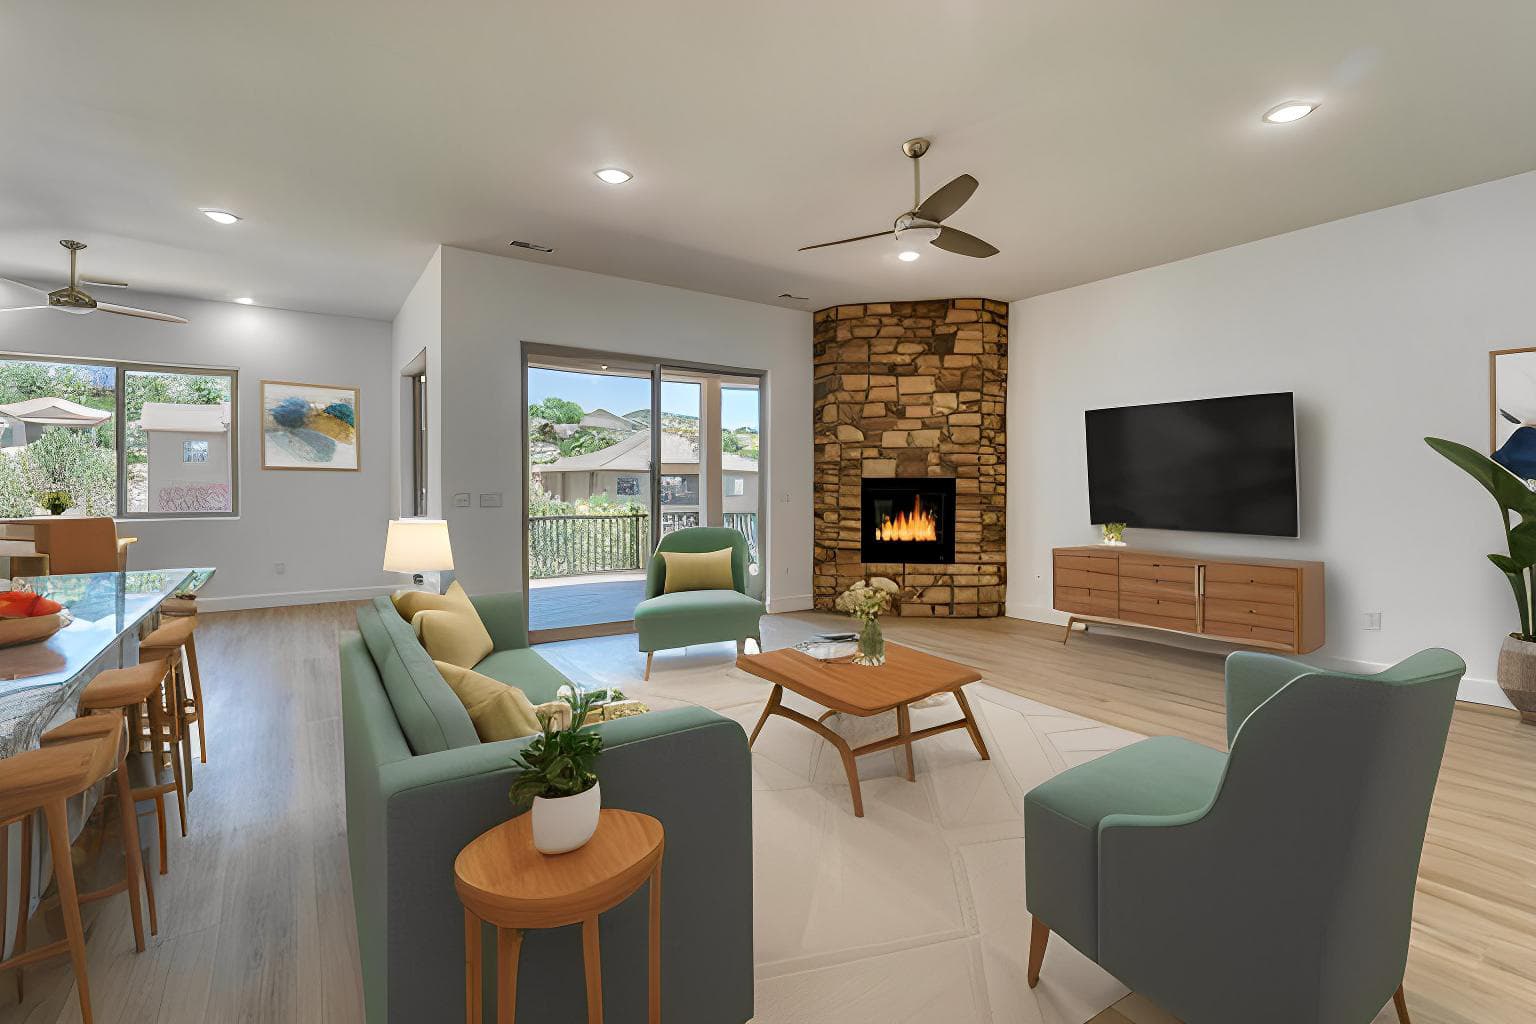
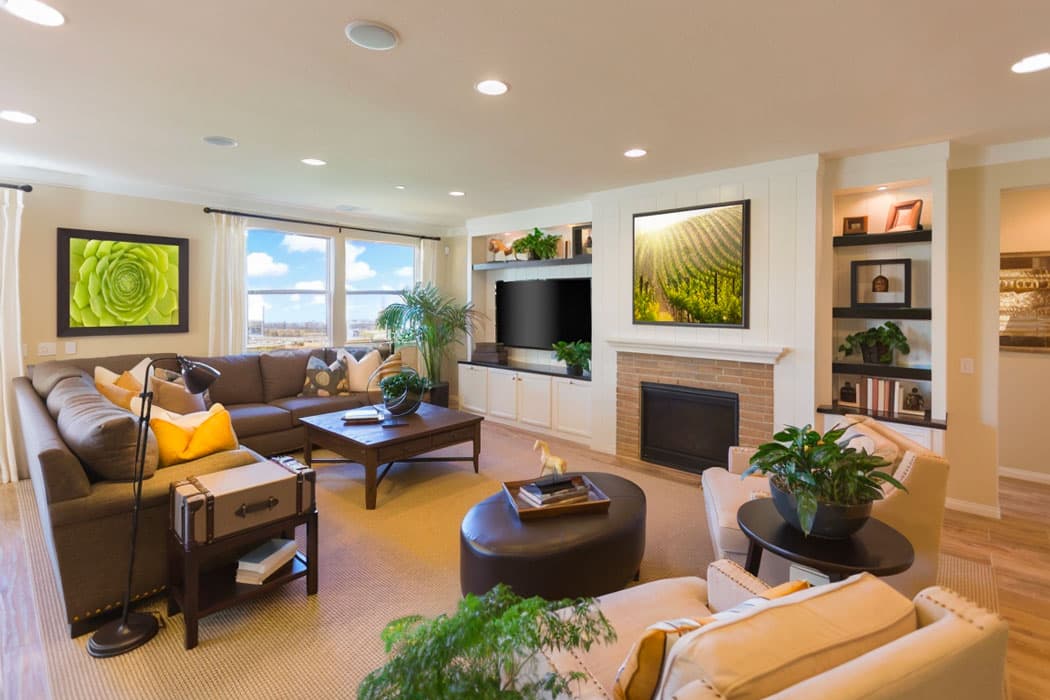
- Volumes stand out: balanced exposure reveals depths and perspective, thus conveying the perceived size of a room.
- Perceived quality rises: bright, sharp photos signal a well-maintained property and a professional approach. It’s often what prompts clicks on portals.
HDR, therefore, forms the technical foundation of quality real estate photography — even before staging or retouching. To see how this skill fits into a comprehensive approach, check our guide on professional real estate photography.
How to succeed with HDR real estate photography
Four simple steps make the difference between clean HDR and poor results.
1. Stabilize with a tripod
HDR combines several shots: even slight movement creates ghosting. A tripod ensures perfect alignment and, bonus, straight vertical lines — a slanted wall immediately reveals amateur handling.
2. Take multiple exposures (bracketing)
Bracketing (or AEB on DSLRs) automates capturing the same scene at 3 to 5 different exposures. This is the raw material for HDR. On smartphones, auto-HDR mode does this automatically; in Pro mode, you can control it.
3. Expose for the windows
Tap on the brightest spot (the window) to set the exposure correctly there. Overexposed highlights are irrecoverable; a slightly dark room can always be fixed later.
4. Merge and calibrate
Once exposures are captured, they are fused into a single image. The goal is a natural look, not a dramatic one. To correct any residual leaning walls, adjust perspective during the merging process.
Manual HDR versus automatic HDR?
Manual HDR (using DSLR + bracketing + fusion software like Lightroom) offers maximum control but requires equipment, time, and expertise. For an agent handling multiple listings, this is not feasible daily.
The alternative: automatic HDR. The real estate photo app IACrea captures multi-exposure bracketing directly from the smartphone, merges the shots, and produces a natural result — no technical setup needed. You take photos, AI balances interior and exterior, then syncs with the web platform to apply virtual staging or other enhancements. For camera settings, our smartphone photography guide completes this approach perfectly.
Common HDR mistakes to avoid
- Exaggerated HDR: gray halos around edges, oversaturated colors, “painted” look. Good HDR is unnoticed.
- Ghosting: double images (moving curtains, passing cars) due to instability — hence the need for a tripod.
- Overexposed windows despite HDR: signals insufficient exposure range; increase bracketing amplitude.
- Leaning verticals: always correct — HDR doesn’t straighten lines alone.
Summary
Real estate HDR photography isn’t a stylistic effect; it’s the core technique that makes your interiors look realistic, bright, and attractive. Tripod, bracketing, exposure targeting windows, natural rendering — these steps are enough. And to automate fully, IACrea app turns your smartphone into a professional HDR tool.
FAQ
What is HDR photography in real estate?
HDR (High Dynamic Range) merges multiple shots of a scene, taken at different exposures, into one image. In real estate, it ensures both dark areas (inside a room) and very bright areas (windows, sky) are sharp — unlike standard photos that burn out windows or leave rooms in darkness.
How to activate HDR when photographing a property?
On smartphones, turn on HDR mode (often automatic on recent iPhones and Androids) or switch to Pro mode to manually handle bracketing. On DSLRs/hybrids, use AEB (auto exposure bracketing) to shoot 3 to 5 exposures, then merge. The IACrea app automates this bracketing directly from your phone.
Is a tripod necessary for real estate HDR photos?
Highly recommended. HDR involves multiple shots: if framing shifts, ghosting appears. A tripod ensures perfect alignment and vertical lines — key elements of professional real estate photos.
Can smartphone HDR suffice for real estate?
For most properties, yes. Modern smartphones (2025-2026 models) feature performant computational HDR. Coupled with AI processing like in the IACrea app, a good smartphone covers about 90% of an agent’s needs. DSLR cameras still excel in very low light or high-end listings.
How to avoid exaggerated HDR effects?
Overprocessed HDR (gray halos, oversaturation, surreal look) results from aggressive editing. The rule is to aim for a natural, balanced rendering, not a dramatic one. Successful HDR should be unobtrusive — it simply makes spaces look well-lit. The automatic processing in IACrea defaults to this natural style.
In conclusion
Mastering HDR ensures every listing starts with photos that match the property’s true character. The good news: what once needed gear and skill now fits in your pocket. Discover the IACrea photo app to capture perfectly exposed interiors on your next listing.
Related articles

Ready to turn your photos into content that sells?
Join thousands of real estate agents using IACrea to create professional content in seconds.
Try for free →