Real estate listings with professional photos generate 118% more views and sell on average 32% faster (Redfin, 2025). Yet, the majority of French property photos are still taken by hand, without a tripod, and without preparation.
Knowing how to photograph a property professionally doesn't require €5,000 worth of equipment or years of training. It’s based on 15 specific principles that any agent can master in a few listings — and IACrea’s AI makes them even more accessible.
What you will learn in this guide:
- The 5 preparation steps that transform any property before shooting
- The truly useful equipment (and what you can ignore)
- Framing and lighting techniques used by professional photographers
- How AI solves the toughest issues (backlighting, empty rooms)
- The 4 essential retouches before publishing
Before shooting: preparing the property (tips 1 to 5)
Preparation accounts for 60% of the final result of a real estate photo session — and it's completely free. Allow 30 to 45 minutes for a standard apartment.
Tip 1 — Choose the right time of day
Natural light is the key ingredient for good photos. Shooting against the light or at noon creates harsh shadows and impossible-to-correct contrasts.
The rule: morning between 9 a.m. and 11 a.m. for east-facing rooms, afternoon after 3 p.m. for west-facing rooms. For facades and exteriors, the golden hour — 30 to 60 minutes before sunset — gives the most flattering results.
Tip 2 — Clear out each room
Cluttered space always appears smaller in photos than in reality. Items to routinely remove:
- Kitchen: coffee maker, toaster, visible dish towels, fridge magnets, trash can
- Living room: cables, remotes, newspapers, toys, excess cushions
- Bedroom: visible clothes, disorder on bedside tables — make the bed neatly
- Bathroom: toiletries, toothbrushes, used towels
If physical tidying is impossible (busy schedule, owner unavailable), virtual decluttering IACrea digitally removes clutter after the shoot.
Tip 3 — Turn on all lights
Switch on all light sources in the property — even during daytime. Artificial lighting balances interior/ window contrast and visually warms each space.
Check that all bulbs work and have consistent color temperatures. An orange-yellow bulb in a white-LED living room creates a color cast that makes the space uninviting.
Tip 4 — Open all shutters and curtains
Maximize natural light by opening all shutters, blinds, and curtains fully. A bright room inspires confidence and feels larger than it really is. Exception: if sunlight hits directly into the lens (total backlighting), slightly partially close to diffuse the light without blinding.
Tip 5 — Plan the order of visits
Start with the brightest rooms (living room, kitchen) to set your camera settings under the best conditions. Finish with secondary areas (hallway, laundry, cellar). This avoids backtracking and readjusting during the session.
The right equipment for real estate photography (tips 6 to 8)
| Equipment | Use | Estimated Budget |
|---|---|---|
| 16-24mm wide-angle lens | Capture entire rooms | €400 – €900 (just the lens) |
| Compact tripod | Stability, consistent height | €30 – €80 |
| Remote shutter release | Eliminate camera shake | €10 – €20 |
| IACrea app (smartphone) | Automatic HDR + home staging | Included with subscription |
Tip 6 — Use the correct wide-angle focal length
The recommended focal range for real estate photography is between 16mm and 24mm (full-frame equivalent). This captures a room entirely from an angle that emphasizes volume without distortion.
Below 14mm, barrel distortion causes visible straight lines (doors, windows, walls). Beyond 35mm, rooms appear smaller than they really are.
Tip 7 — Stabilize using a tripod
The tripod offers the best impact-to-cost ratio. It eliminates blur caused by low light or hand movements, ensures consistent height across shots, and frees your hands to fine-tune composition. A €50 model yields results comparable to a €300 one for typical real estate needs.
Tip 8 — Know your smartphone’s limits
High-end smartphones of 2025-2026 (iPhone, Samsung Galaxy) produce acceptable results for most standard properties. Main limitations are managing contrast between interior and windows, and low-light performance.
IACrea’s AI photo app is designed to compensate these limitations: it automates multi-bracketing HDR and delivers professional-looking photos directly from an iOS phone (Android coming soon). For more info, see our guide on smartphone real estate photography.
Shooting techniques (tips 9 to 12)
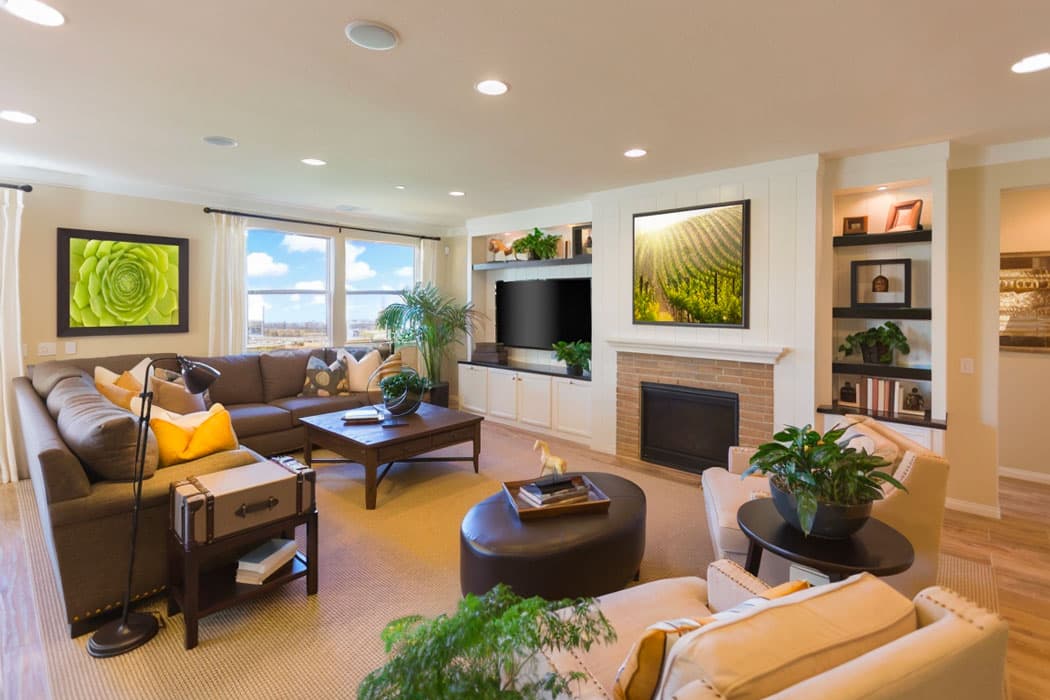
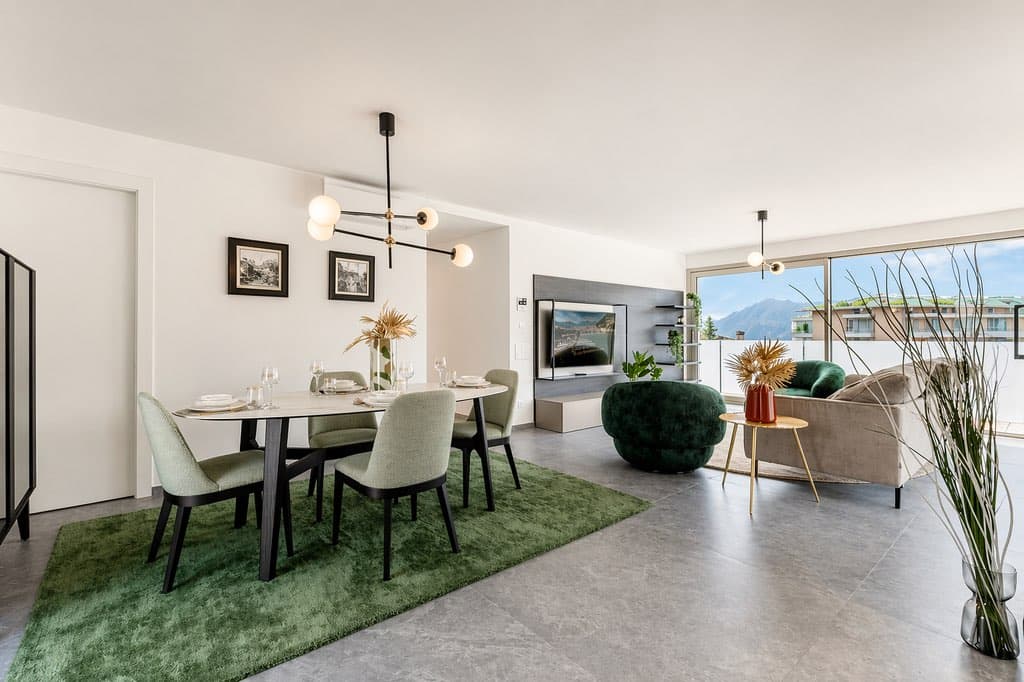
 A well-executed real estate photo: balanced lighting, straight verticals, space enhanced
Tip 9 — Camera height: between 1 m and 1.30 m
Camera height is one of the most crucial yet often misadjusted parameters.
- Optimal height: 1.00 m to 1.30 m from the floor — roughly at waist level, not shoulder height
- Too high (eye level): creates a downward angle that visually flattens the room
- Too low (knee level): distorts proportions, exaggerates floor imperfections
This height matches the natural perception of someone entering the room for the first time.
Tip 10 — Shoot from the most advantageous angle
Always position yourself in the corner that captures the maximum space — often diagonally opposite the door. In the living room, aim for the natural focal point: fireplace, large windows, garden view.
A light diagonal composition — slightly off-center angle — adds greater depth than a front-on shot.
Tip 11 — Handle backlighting and windows
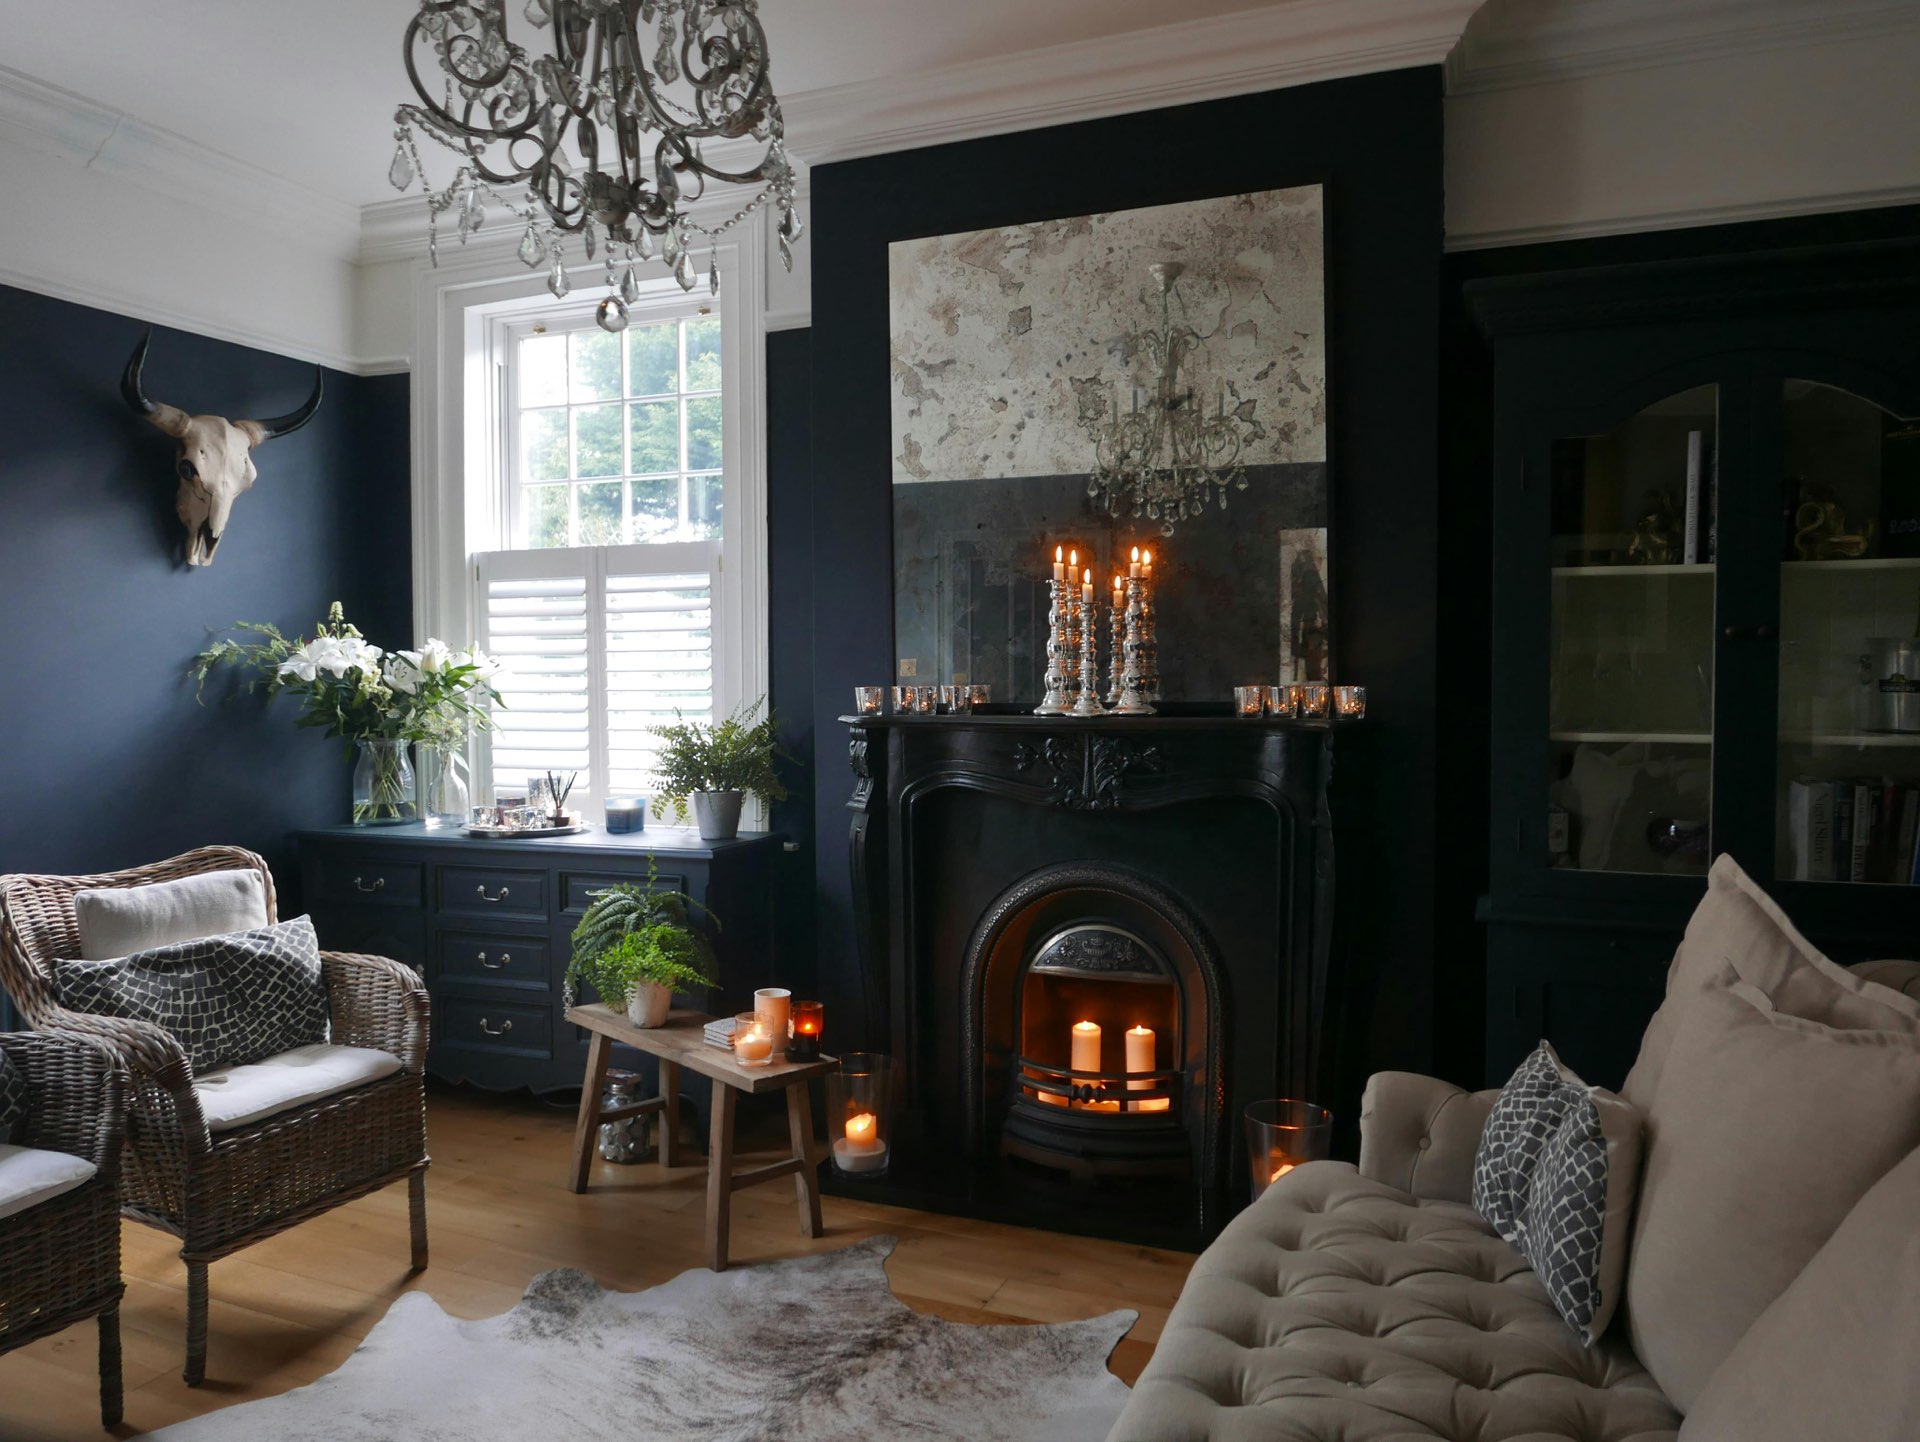 Without backlight control: dark interiors and "burned out" windows — dealbreaker on property portals
Backlighting is the hardest situation in real estate photography. Two main approaches:
Manual HDR bracketing: take 3 to 5 exposures at different brightness levels (under, normal, over-exposed) and blend them in post-processing for balanced interior and exterior visibility.
Automatic HDR with IACrea: IACrea’s photo app automatically captures and merges multiple exposures into a balanced photo — no external software needed, in seconds.
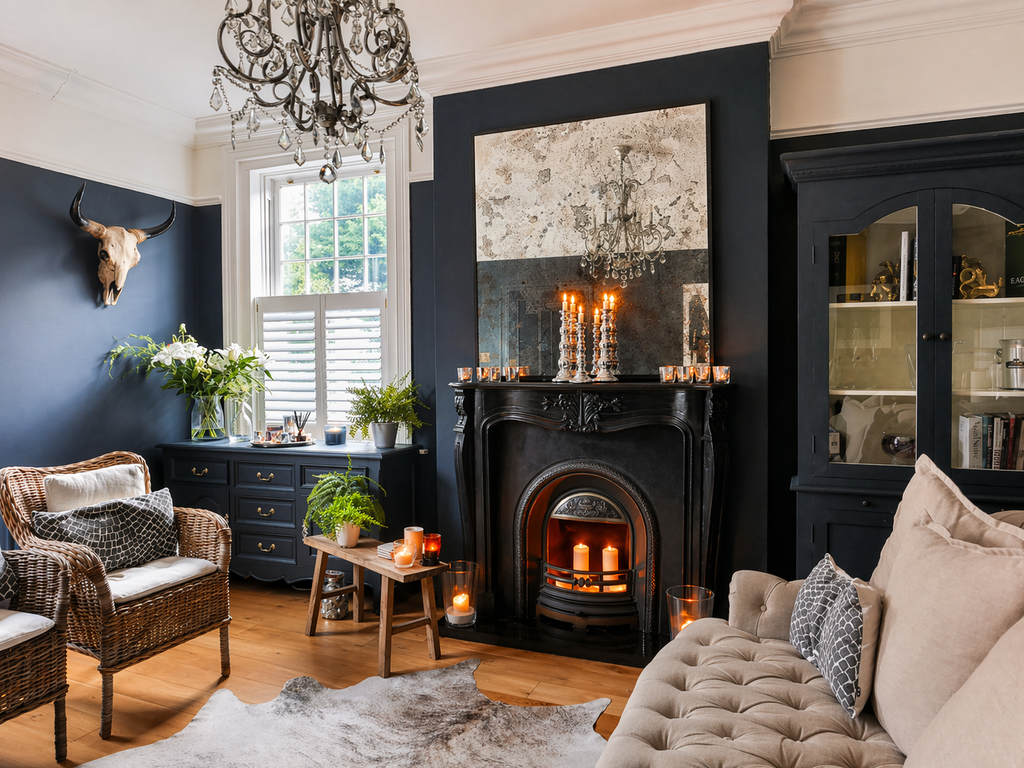 After HDR processing: even lighting everywhere, clear windows, bright interior — achieved automatically with IACrea
Tip 12 — 2 to 3 photos per room
Always shoot 2 to 3 angles per room to give options for editing. Approximate target for a 4-room apartment:
- Living room: 3 angles
- Kitchen: 2 angles
- Each bedroom: 1-2 angles
- Bathroom: 1 angle (from the furthest corner)
- Outdoor / terrace: 2 angles
Total: 15 to 25 raw photos → select the 10 to 15 best for the listing.
Light, the key to good real estate photos (tip 13)
Tip 13 — Balance natural and artificial lighting
A common mistake: turning off all lights thinking natural light is enough. In reality, human eyes handle much higher contrast than a camera can record in one shot.
The professional method:
- Turn on all lighting in the property (ambient + spots)
- Fully open all shutters
- Take the photo with HDR enabled (or via IACrea app) to balance both sources
This results in photos where interior and exterior are both visible through windows — the hallmark of professional real estate photography.
AI at your service in real estate photography (tips 14 and 15)
AI tools have dramatically simplified processes that once only professional photographers could master.
Tip 14 — Automate HDR and photo enhancement with IACrea
IACrea’s AI photo app automatically manages multi-bracketing and HDR merge at the push of a button. The result: a balanced, bright photo with visible details everywhere — directly exportable from your iPhone, no additional editing software needed.
Real estate agents using IACrea report that their average post-production time drops by 3x after adopting the app, according to feedback from our community.
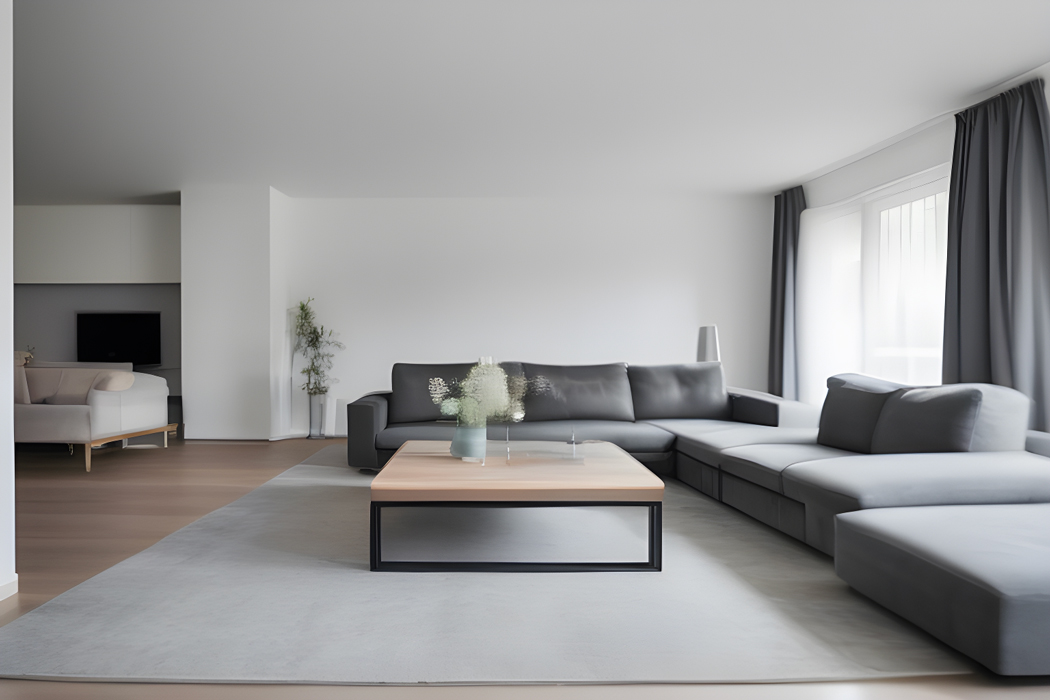
Tip 15 — Virtual home staging for empty rooms
Even perfectly shot, an empty room photo is hard to sell because buyers can’t project themselves in it. IACrea’s virtual staging solves this: based on your photo, AI generates a furnished and decorated version in seconds, ready for listing.
This feature is especially useful for vacant properties (newbuilds, apartments post-move) or rooms under renovation wanting to highlight potential. For more details, check out our comprehensive guide to professional real estate photography.
Post-production: the 4 essential edits before publishing
Post-processing doesn’t need to be complex. These 4 corrections cover 90% of situations:
- Exposure: balance highlights (windows) and shadows (dark corners) — automatic with IACrea HDR
- White balance: correct yellow cast from artificial lights (aim for 4,500–5,500 K)
- Vertical correction: ensure walls and doors are perfectly straight — slight tilts create an unstable impression
- Distortion correction: fix “barrel” effect from wide-angle lens (automatic in most editing software)
These adjustments take less than 5 minutes per photo with standard editing tools. See our pricing plans to incorporate the IACrea app into your workflow and automate these steps.
FAQ
How to photograph an apartment properly for a listing?
Start by decluttering and preparing each room (allow 45 minutes for a standard apartment). Turn on all lights, open shutters. Position the camera about 1.20 m high, from the most advantageous corner. Use a wide-angle lens (16-24mm) and a tripod. Take 2–3 photos per space, beginning with main living areas.
What’s the best time of day to shoot a property?
When it’s not noon sun. Morning between 9 a.m. and 11 a.m. or afternoon after 3 p.m., depending on orientation. For exteriors, the golden hour (30–60 minutes before sunset) produces the best results. Avoid midday sun, which creates harsh shadows and difficult contrasts.
How to avoid overexposed windows in property photos?
HDR (High Dynamic Range) blending combines multiple images at different exposures to preserve detail inside and outside. IACrea’s AI app automates this: it captures and merges several exposures into one balanced photo in seconds, no external software required.
Should lights be on when shooting a property?
Yes — even during the day. Artificial lights balance interior/ exterior contrast, warm the space visually, and prevent dark corners. Check all bulbs for working order and consistent color tone before the shoot.
At what height should the camera be positioned?
Between 1.00 m and 1.30 m from the ground — roughly waist level. This reflects natural human perception when entering a space. Too high (eye level) creates a downward angle that flattens the room; too low (knee level) distorts proportions and accentuates floor imperfections.
Conclusion
Mastering real estate photography provides the highest ROI for agents: more clicks, more visits requested, faster sales. These 15 tips cover the essentials — preparation, framing, lighting, and post-processing — and can be applied starting with your next listing.
For the most technical steps (HDR, backlighting, virtual staging of empty rooms), IACrea’s AI photo app automates what used to require full training. Download it and try it on your next mandate.
Related articles


Ready to turn your photos into content that sells?
Join thousands of real estate agents using IACrea to create professional content in seconds.
Try for free →