
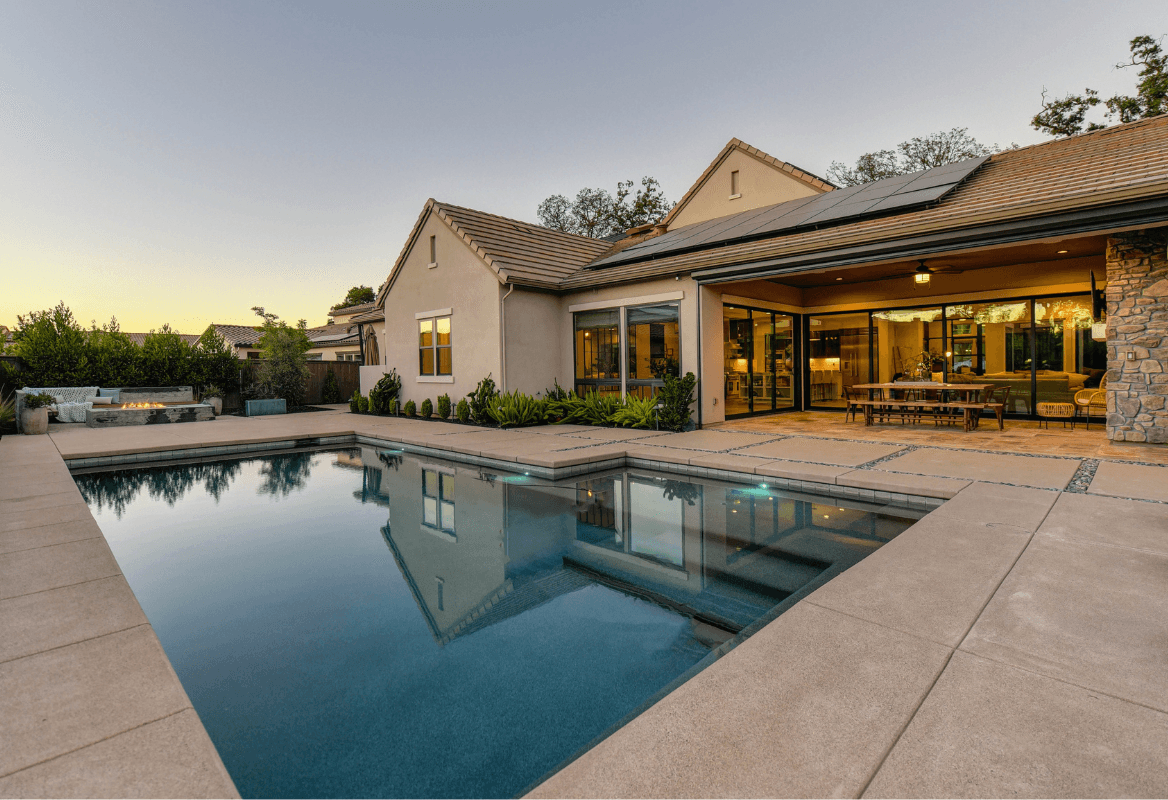
A flyover that starts too high, moves too fast, has no direction, and comes back down anywhere: that's the drone video most agents end up with when they try to shoot it themselves. The result is technically fine, tells no story, and gets cut in the edit.
The five moves behind a professional real estate drone video don't take exceptional gear or years of practice. A flight path planned in advance and a few settings are enough to turn an ordinary flyover into a hook that makes buyers click on the listing. This guide breaks down those moves, the shot plan to prepare before takeoff, and how to connect the aerial footage to the rest of your listing video.
What you'll learn in this guide:
- The 5 camera moves behind a professional real estate drone video
- How to build a shot plan before you take off
- Basic settings for a cinematic look, no technical expertise needed
- The right time of day and weather for the flight
- How to connect the aerial shot to the rest of your AI video
- What a real estate drone video actually costs in 2026
Why a drone shot makes a real estate video perform better
A listing video that opens straight on the living room skips the strongest way to grab attention: showing the home in its setting. The National Association of REALTORS® notes that, according to the MLS, homes displayed with aerial shots are 68% more likely to sell.
Video matters to buyers too. In NAR's 2025 Profile of Home Staging, 48% of buyers' agents said video in a listing was highly important to their clients, behind photos (73%) (NAR). That leaves room for agents who structure their videos well, drone included. The flyover isn't decoration: it's the opening shot that gives context before the video goes inside. Our complete guide to AI real estate video walks through the whole workflow, from the shoot to publishing; to see the result on real homes, browse our AI real estate video examples.
The 5 camera moves to master
Five flight paths show up in the vast majority of successful real estate drone videos. Each one has a specific job in the story. Mixing them at random backfires: you get footage that distracts more than it convinces.
| Move | Flight path | What it does for a listing |
|---|---|---|
| Reveal | Low shot of the facade, then pull back and rise at the same time | Opening: reveals the home, then its surroundings |
| Orbit (circle) | Circles the home at a constant height | Shows all four sides and where the house sits on the lot |
| Dolly | Moves steadily from the street toward the front door | Creates a sense of arrival and leads naturally into ground-level shots |
| Top-down (nadir) | Straight-down view of the lot and pool, then tilts up to the horizon | Shows the real shape of the lot, useful on large parcels |
| Hyperlapse | Time-lapse combined with the drone moving along a fixed path | Punchy clip for a social media teaser, less suited to a standard listing video |
The reveal: your go-to opening move
In a listing video, the reveal beats every other opening shot. It grabs attention in the first 3 seconds, the point at which viewers on most platforms move on to the next piece of content, then widens the frame to show the home's surroundings. It's also the move a beginner pilot pulls off most easily, as long as the pull-back and the climb stay in sync: too much climb without pulling back flattens the image, and too much pull-back without climbing keeps you skimming the ground.
The orbit: for homes with land worth seeing from every angle
On a property with a big lot, a pool, or an outbuilding, a slow orbit at about a 45° camera angle gives a better sense of volume than a straight top-down view. It works especially well on luxury homes, where the quality of the footage signals the standing of the home itself. See our guide to staging luxury homes for everything buyers expect to see in that segment.
An orbit shows how the pool, yard, and house fit together in a single take
Build a shot plan before you take off
A pilot who improvises in the air rarely brings back usable footage. Settle three questions before takeoff:
- Where does the shot start and end? A reveal needs a low, clean starting point (the gate, the driveway) and an end point that frames the whole property.
- How many shots, and how many seconds? Two or three moves are enough for a standard listing video: a reveal to open, plus an orbit if the lot earns it. Don't stack flight paths. Every change of move should serve the story, not show off your flying.
- How does the aerial shot connect to the rest of the video? A final dolly toward the front door is the natural bridge to the interior shots: the video "lands" right as it enters the home.
A slow dolly toward the facade bridges the aerial shot and the interior
Drone settings for a cinematic look
You don't need video expertise. Three settings are enough to avoid the "amateur" look:
- ISO as low as it goes (usually 100) to limit digital noise, especially in bright light.
- Shutter speed at double the frame rate, known as the 180° rule: at 24 or 30 frames per second, a shutter speed of 1/50 or 1/60 gives natural motion blur instead of choppy footage.
- A slow, steady flight path: most consumer drones have a "cine" or "cinematic" mode that automatically slows the drone down and smooths out acceleration. Turn it on every time you shoot a listing.
If you fly often, a flat color profile (D-Log or an equivalent) keeps more detail in the highlights and shadows for color correction in post. It's a useful refinement on luxury homes, but optional for everyday listings.
The right time and weather
As with any real estate shoot, light drives the result. Fly when the sun is low to avoid the harsh shadows and backlighting that flatten the land when seen from above. Our guide to lighting in real estate photography applies fully to aerial shoots.
Wind is the factor people underestimate. Above roughly 20 to 25 mph (30 to 40 km/h), even an experienced pilot can't guarantee a steady flight path, and it shows on screen: vibration, a tilted horizon, jerky movement. Push the shoot back a day rather than publish shaky footage.
From raw footage to a video that converts
A raw drone shot is only half the job. A complete listing video pairs the aerial shot with interior footage, traditionally shot on the ground, or generated straight from your photos with IACrea's AI real estate video: each room you photographed becomes a moving shot in a few minutes, with no camera crew or extra editor.
You then put it all together in IACrea's real estate video editor, which handles the edit, the order of the clips, and the final export. If the exterior the drone captured needs a boost (a washed-out sky, a yellowed lawn), the AI exterior design feature fixes it right on the images before they go into the video.
Sky and lawn improved with AI before going into the final video
How much does a real estate drone video cost?
Prices depend on your market, the pilot's experience, the complexity of the flight area (controlled airspace near an airport, for example), and how much editing you need. Here's what Thumbtack's cost data shows for the US:
| Service | What Thumbtack reports |
|---|---|
| Drone or aerial photographer, hourly | $102 – $367 per hour national average range; most people pay around $125 per hour |
| Aerial listing video, 60 to 90 seconds | Example: $400 – $450, editing included |
| Shoot running past 90 minutes | May add $50 – $70 per extra hour |
| Drone video + interior shots generated by IACrea | IACrea video plan + the drone pilot's fee |
Travel fees and advanced editing are often extra, so settle them with the pilot before the shoot. Our complete real estate drone guide covers the FAA rules (Part 107, Remote Pilot Certificate, registration, Remote ID) and pricing for both photos and video. See IACrea's plans and pricing for the AI-generated video part.
Mistakes to avoid
- Chaining moves with no logic: every flight path should serve the story, not show off a skill.
- Starting too high, too soon: a reveal that already starts at 330 feet (100 m) doesn't reveal anything. It just shows a distant view.
- Skipping the transition inside: an aerial-only video leaves viewers wanting more. The final dolly should set up the move into the home.
- Publishing raw, unedited footage: a washed-out sky or a dull lawn kills the effect, even with a perfect camera move.
- Flying without a Remote Pilot Certificate or insurance: beyond FAA penalties, an accident with no coverage lands directly on the agent who ordered the flight.
FAQ
How long should a drone video for a listing be? Ten to 20 seconds of pure aerial footage, inside a listing video that runs 45 to 90 seconds overall. Any longer and the flyover gets tiresome: the drone should set the scene at the start, not take over the whole video. The rest of the time goes to ground-level shots, which show the interior and reassure buyers about the home's real condition.
Do I need a licensed drone pilot to shoot a real estate drone video? Yes. Marketing a listing is a business use, so the flight falls under the FAA's Part 107 rules: the pilot needs an FAA Remote Pilot Certificate, and the drone must be registered with the FAA and comply with Remote ID. The FAA doesn't require insurance, but the NAR recommends liability coverage. For occasional shoots, hiring a certified pilot by the job is the simplest option; our real estate drone guide covers the full rules and pricing.
How do I combine drone footage with an AI-generated real estate video? The aerial shot works as the opening hook, then the video cuts to shots generated from your interior photos with IACrea's AI video. Both come together in IACrea's video editor, which handles editing, transitions, and the final export with no outside editing software.
Which camera move should open a home tour video? The reveal (pulling back and rising from a low shot) is the strongest opener: it shows the facade, then the home's surroundings, in a single take, and builds anticipation that holds attention through the first 3 seconds, the critical window before a viewer scrolls to the next listing.
Does a drone video replace a ground-level videographer? No. The two work together; one never replaces the other. The drone tells the story of the whole property (the lot, the surroundings, where the house sits), while ground-level shots sell each room and the real condition of the interior. An aerial-only video leaves viewers wondering what the inside looks like.
Conclusion
A great real estate flyover comes down to preparation, not gear: a move chosen for what it reveals, a flight path planned before takeoff, and a clean transition into the rest of the video. A reveal to open, plus an orbit on homes with land, covers the vast majority of listings.
Once the aerial shot is done, the edit does the rest: IACrea's AI real estate video turns your interior photos into moving shots, and the video editor assembles everything, drone footage included, into a complete listing video ready to publish.
About the author

Co-founder & CEO of IACrea
Pauline Clavelloux is co-founder and CEO of IACrea. In daily contact with real estate agencies and agents, she understands their challenges around visibility, marketing and lead generation. On the blog, she shares actionable strategies on real estate marketing, social media and prospecting in the age of AI.
Related articles
Ready to turn your photos into content that sells?
Join thousands of real estate agents using IACrea to create professional content in seconds.
Try for free →